All products are selected by our editorial team for quality. If you buy through our links, we may earn a small commission at no extra cost to you.
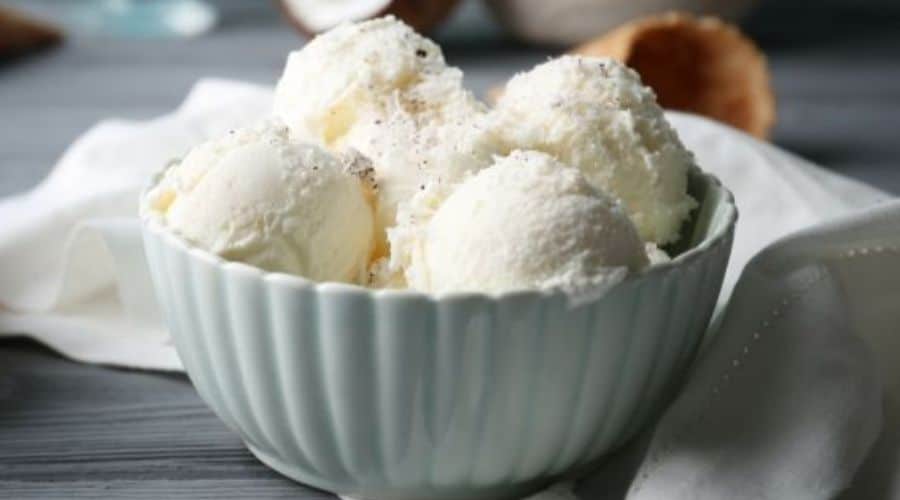
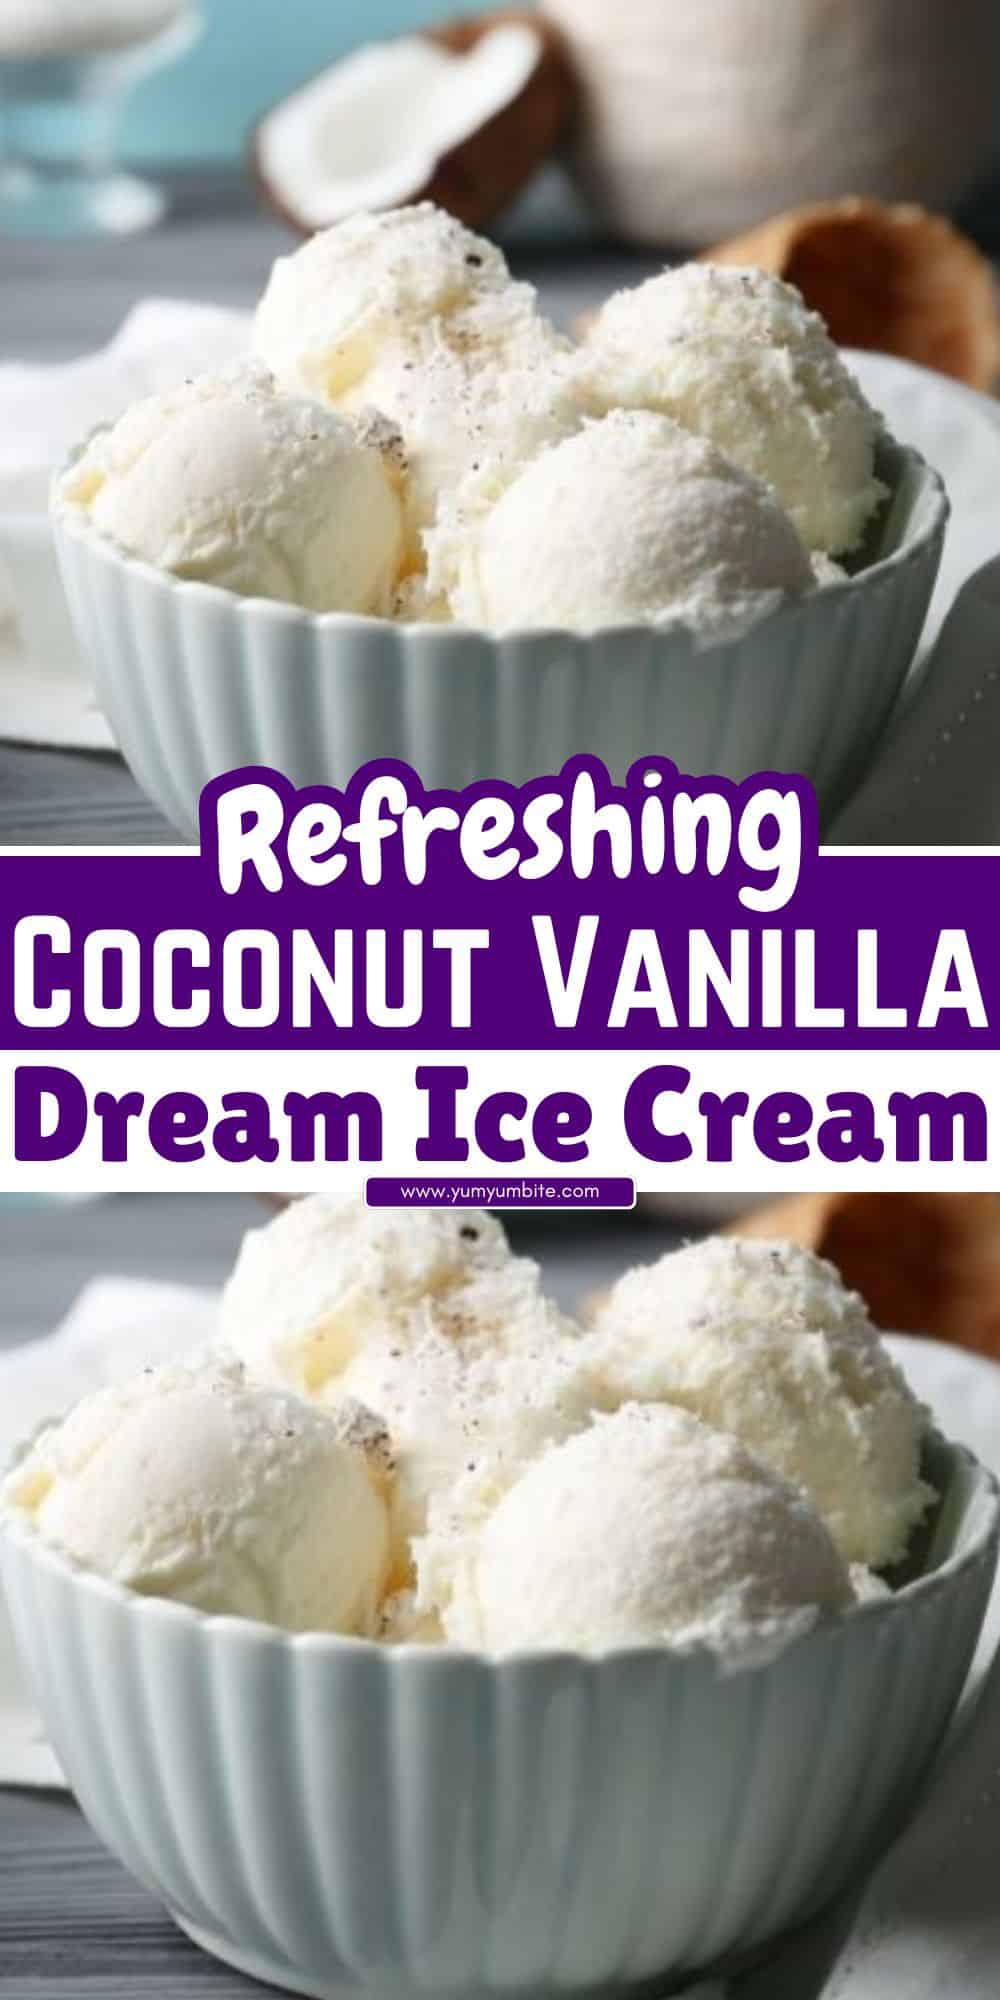
If you’re a fan of creamy, tropical desserts, then Coconut Vanilla Dream Ice Cream will quickly become your go-to treat.
This luxurious ice cream combines the smooth richness of coconut with the comforting flavor of vanilla for a tropical delight in every bite.
Perfect for hot summer days, cozy gatherings, or just when you’re craving something sweet, this homemade ice cream will transport your taste buds to a paradise of smooth, velvety goodness.
It’s an easy-to-make recipe with simple ingredients that comes together beautifully to create a dreamy, coconut-infused dessert you’ll love.
Health Benefits:
Rich in Healthy Fats: The full-fat coconut milk and heavy cream provide a source of healthy fats that can support brain function and provide long-lasting energy.
Dairy-Free Option: For those who are lactose intolerant or follow a vegan diet, substituting with coconut cream makes this recipe dairy-free, helping with digestion and reducing lactose-related discomfort.
Boosts Immunity: Coconut milk contains lauric acid, which may support the immune system by fighting off viruses and bacteria.
Good Source of Fiber: The inclusion of coconut flakes adds fiber, which can aid digestion and contribute to gut health.
Natural Sweeteners: Using maple syrup instead of refined sugar reduces the glycemic index, potentially preventing blood sugar spikes.
Why You’ll Love This Coconut Vanilla Dream Ice Cream
This ice cream is an absolute dream come true for coconut and vanilla lovers alike.
The coconut milk creates a rich, creamy texture that complements the aromatic vanilla in such a perfect way.
With every spoonful, you get a delightful mix of smooth vanilla and the tropical sweetness of coconut, making this ice cream the ideal treat for any occasion.
The best part? It’s easy to make, and you only need a few ingredients, most of which you likely already have in your pantry.
Whether you’re looking for a refreshing summer dessert or a unique addition to your dessert table, this ice cream will satisfy your cravings with its irresistible taste and texture.
Ingredients You’ll Need
For this indulgent Coconut Vanilla Dream Ice Cream, you’ll need the following ingredients:
- 2 cups full-fat coconut milk – This creates the creamy, rich base of the ice cream. Full-fat coconut milk will give you the best texture and flavor.
- 1 cup heavy cream – For added creaminess and a velvety finish.
- ¾ cup granulated sugar – To sweeten the mixture and balance out the richness of the coconut and cream.
- 2 teaspoons pure vanilla extract – The key to that sweet, aromatic vanilla flavor that enhances the coconut base.
- Pinch of salt – A little salt helps to bring out the sweetness and flavor of the coconut.
- Optional: ½ cup toasted coconut flakes – For added texture and a deeper coconut flavor if you prefer a bit of crunch in your ice cream.
Step-by-Step Instructions

Prepare the Ice Cream Base
In a medium saucepan, combine the coconut milk, heavy cream, and sugar.
Heat over medium heat, stirring occasionally, until the sugar is fully dissolved and the mixture is warmed through (but not boiling).
Add Vanilla and Salt
Remove the saucepan from heat and stir in the vanilla extract and a pinch of salt. This will enhance the flavor and give the ice cream its signature richness.
Cool the Mixture
Let the mixture cool to room temperature before refrigerating it. Chill the base in the refrigerator for at least 2 hours, or until it’s very cold.
This helps the ice cream churn more effectively and ensures a smoother texture.
Churn the Ice Cream
Once the mixture is chilled, pour it into your ice cream maker and churn according to the manufacturer’s instructions.
Typically, this takes about 20-25 minutes, depending on your machine.
Add Toasted Coconut (Optional)
If you’re adding toasted coconut flakes for extra texture and flavor, stir them into the ice cream once it has finished churning.
This step is optional, but it adds a nice contrast to the smoothness of the base.
Freeze the Ice Cream
Transfer the ice cream to an airtight container and spread it out evenly. Freeze for 4-6 hours, or until firm.
The longer it freezes, the more solid it will become, making it perfect for scooping and serving.
Serve and Enjoy
Once your Coconut Vanilla Dream Ice Cream is fully frozen, scoop it into bowls or cones, and enjoy the tropical, creamy goodness!
Recipe Variation:
- Chocolate Coconut Dream Ice Cream: Add ¼ cup of cocoa powder or melted dark chocolate to the coconut milk and cream mixture for a rich chocolate twist.
- Mango Coconut Ice Cream: Blend 1 cup of fresh or frozen mango puree into the chilled mixture before churning for a fruity tropical variation.
- Pineapple Coconut Ice Cream: For a tangy flavor, mix in ½ cup of pineapple puree along with the coconut flakes before freezing.
- Coconut Almond Ice Cream: Add ½ cup of chopped roasted almonds along with the coconut flakes to give the ice cream a nutty crunch.
- Matcha Coconut Ice Cream: Whisk 1 tablespoon of matcha powder into the coconut milk and cream mixture for a vibrant and earthy twist.
Tips for the Best Coconut Vanilla Dream Ice Cream
Making homemade ice cream is simple, but a few tips can help you achieve the best texture and flavor:
Use full-fat coconut milk – This ensures a rich, creamy consistency. Light coconut milk may result in an icy texture.
Chill the mixture before churning – A well-chilled base freezes faster, leading to smoother ice cream. Refrigerate it for at least 2 hours before churning.
Don’t skip the salt – A pinch of salt enhances the sweetness and balances the flavors.
Use high-quality vanilla extract – Since vanilla is a key flavor, using pure vanilla extract (or vanilla bean paste) will make a big difference.
Toast the coconut flakes for extra depth – If you’re adding coconut flakes, toasting them before mixing them in adds a nutty, caramelized flavor.
Let the ice cream sit before serving – Homemade ice cream can freeze solid. Let it sit at room temperature for 5-10 minutes before scooping for a creamy consistency.
Storage Tips – Keeping Your Ice Cream Fresh
Proper storage is key to keeping your homemade Coconut Vanilla Dream Ice Cream fresh and delicious:
- Use an airtight container – This prevents freezer burn and helps maintain the ice cream’s creamy texture.
- Press plastic wrap over the surface – This reduces ice crystal formation by minimizing air exposure.
- Store in the coldest part of the freezer – Avoid placing the ice cream near the freezer door, where temperature fluctuations can make it icy.
- Consume within 2-3 weeks – Homemade ice cream lacks preservatives, so it’s best enjoyed within a few weeks for optimal flavor and texture.
Conclusion
With its creamy coconut base and rich vanilla aroma, Coconut Vanilla Dream Ice Cream is a perfect blend of tropical and classic flavors.
It’s easy to make, requires minimal ingredients, and delivers a luxurious homemade dessert experience.
Whether you enjoy it on its own, with toppings, or alongside your favorite cakes and pies, this ice cream is a dreamy indulgence you’ll love.
Give it a try, and let the flavors of coconut and vanilla transport you to a tropical paradise!
Frequently Asked Questions
Can I make this ice cream without an ice cream maker?
Yes! You can freeze the mixture in a shallow dish and stir it every 30 minutes for about 3-4 hours until it reaches a creamy consistency.
Can I use coconut cream instead of coconut milk?
Yes, coconut cream will make the ice cream even richer and thicker, but it may also be denser. Adjust the heavy cream ratio accordingly.
Can I make this vegan?
Absolutely! Replace the heavy cream with full-fat coconut cream and use a plant-based sweetener like maple syrup.
How do I prevent ice crystals in my ice cream?
Ensure the base is well-chilled before churning, store in an airtight container, and press plastic wrap against the surface before freezing.
What toppings go well with this ice cream?
Toasted coconut flakes, chocolate shavings, caramel drizzle, or crushed nuts all pair beautifully with the coconut-vanilla flavor.

Coconut Vanilla Dream Ice Cream
Equipment
- 1 Medium Saucepan
- 1 Whisk
- 1 Mixing Bowl
- (1) Ice cream maker (or freezer-safe container if making without a machine)
- 1 Measuring Cups and Spoons
- 1 Airtight Container for Storage
Ingredients
- 1 can 13.5 oz full-fat coconut milk
- 1 cup heavy cream or coconut cream for a dairy-free version
- ¾ cup granulated sugar or maple syrup for a natural sweetener option
- 1 tablespoon pure vanilla extract
- ¼ teaspoon salt
- ½ cup toasted coconut flakes optional, for extra texture
Instructions
- Heat the base – In a medium saucepan over low heat, combine the coconut milk, heavy cream, sugar, and salt. Stir continuously until the sugar is fully dissolved (about 5 minutes).
- Add vanilla & cool – Remove from heat and stir in the vanilla extract. Let the mixture cool to room temperature, then refrigerate for at least 2 hours (or overnight) until well-chilled.
- Churn the ice cream – Pour the chilled mixture into an ice cream maker and churn according to the manufacturer’s instructions (usually 15-20 minutes).
- Fold in coconut flakes (optional) – Once churned, gently fold in the toasted coconut flakes for added texture and flavor.
- Freeze & set – Transfer the ice cream to an airtight container and freeze for at least 2 hours to firm up before serving.
- Serve & enjoy – Let the ice cream sit at room temperature for 5-10 minutes before scooping for the perfect creamy texture. Enjoy on its own or with your favorite toppings!
Notes
- For a dairy-free version, substitute heavy cream with coconut cream.
- For a no-churn method, freeze the mixture in a shallow container, stirring every 30 minutes for about 3-4 hours until creamy.
- Enhance the flavor by adding a vanilla bean pod instead of extract for a more intense vanilla taste.
- For an extra tropical touch, top with fresh pineapple chunks, dark chocolate shavings, or a drizzle of caramel.
- Storage – Store in an airtight container in the freezer for up to 3 weeks.