Every product is independently reviewed and selected by our editors. If you buy something through our links, we may earn an affiliate commission at no extra cost to you.
There’s something truly magical about the combination of cool, refreshing mint and rich, velvety chocolate.
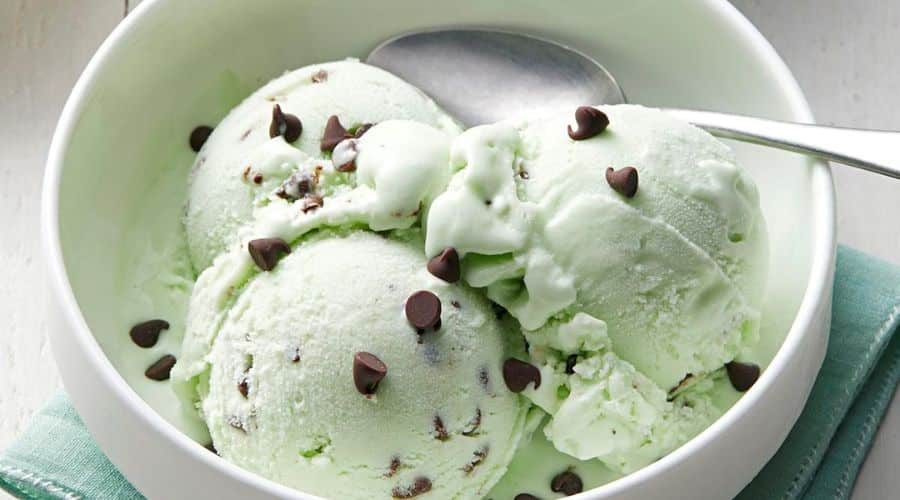
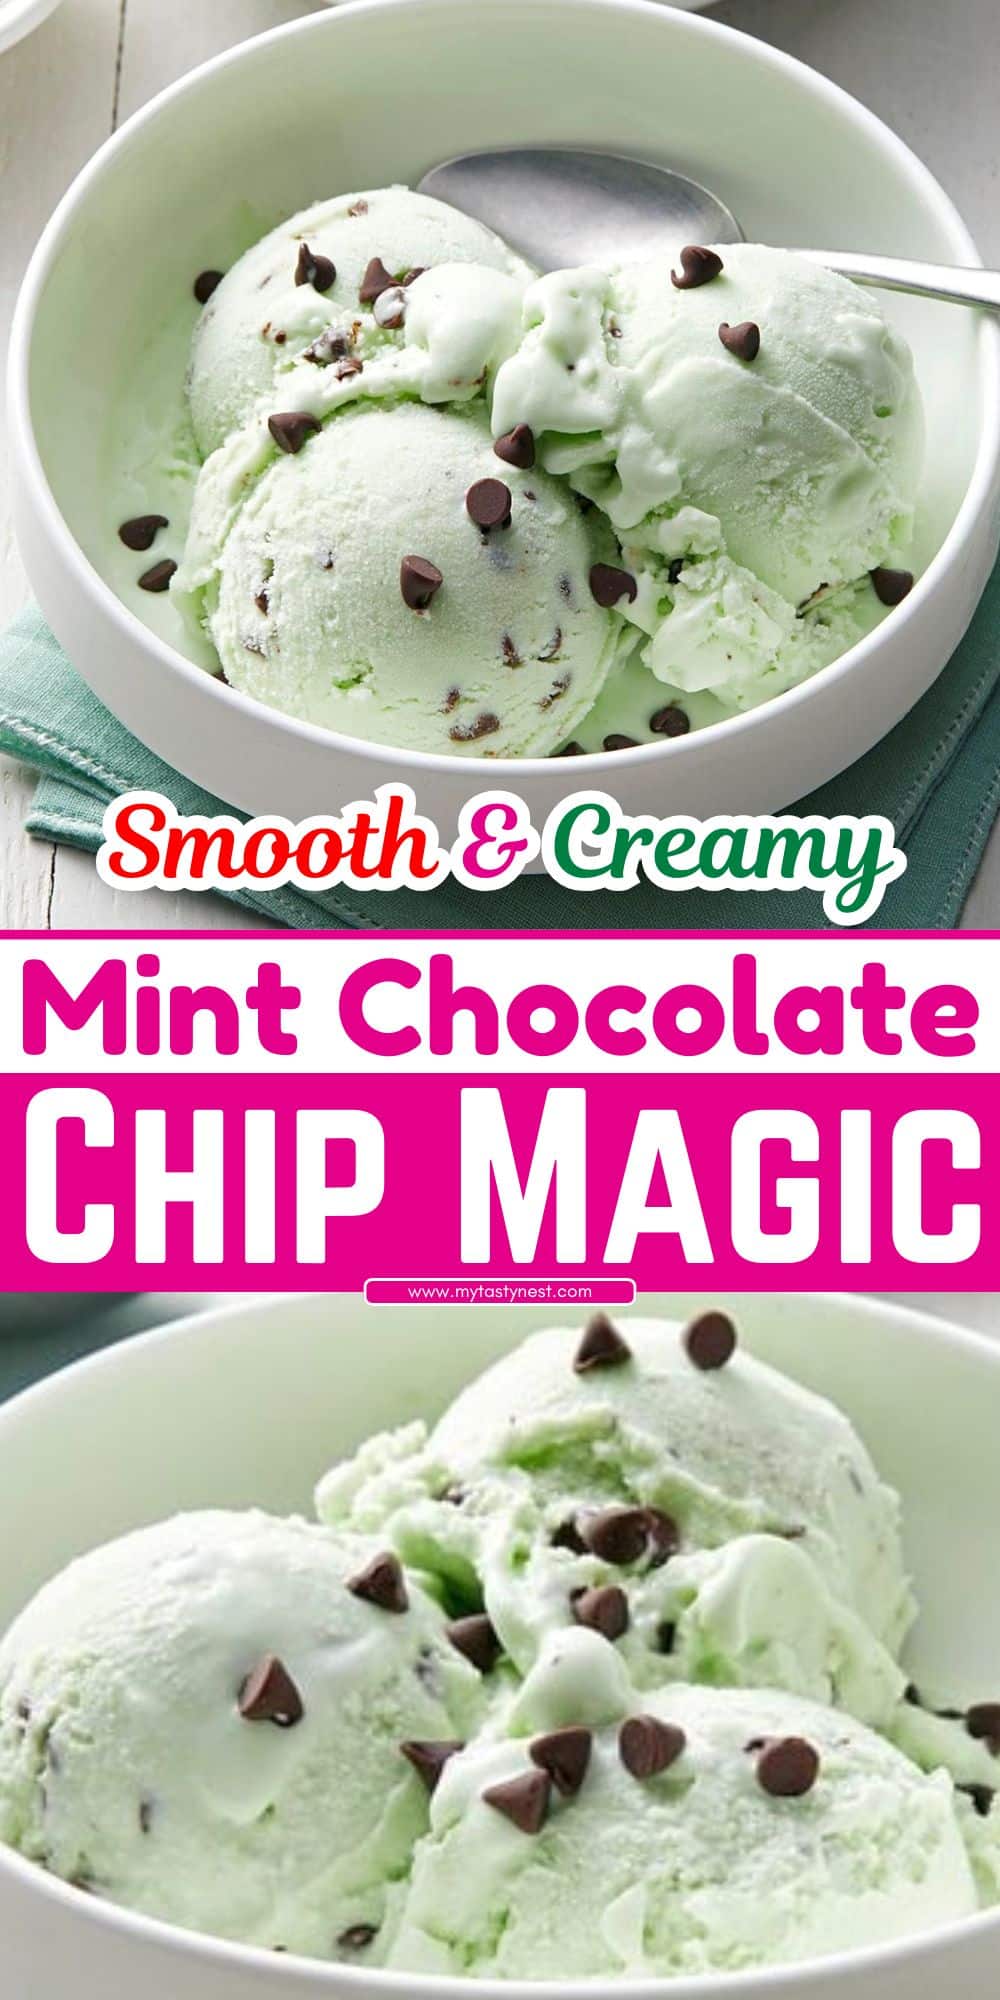
Mint Chocolate Chip Magic is the ultimate homemade ice cream that strikes the perfect balance between creamy indulgence and crisp, minty freshness.
With its smooth texture, bursts of chocolate, and vibrant green hue, this ice cream is a delightful treat for any occasion.
Whether you enjoy it in a cone, a bowl, or as the base for a decadent ice cream sandwich, this homemade version is far superior to store-bought.
Plus, you can customize the intensity of the mint flavor and the type of chocolate to make it truly your own.
Get ready to churn up some homemade magic!
Health Benefits:
Mint Benefits
The peppermint extract used in this recipe is known for its soothing properties. It can help with digestion, reduce headaches, and provide a refreshing sensation. Peppermint is also known to have antimicrobial properties, which can support oral health.
High in Calcium
With ingredients like heavy cream and whole milk, this ice cream provides a good amount of calcium, which is essential for maintaining strong bones and teeth. Calcium also helps with nerve function and muscle contraction.
Antioxidants from Chocolate
The semi-sweet chocolate chips used in the chocolate swirl are packed with antioxidants, which can help neutralize harmful free radicals in the body. These antioxidants may support heart health and reduce inflammation.
Mood Booster
Chocolate is known to trigger the release of endorphins, the “feel-good” hormones, which can improve mood and overall emotional well-being. The combination of chocolate and mint is also uplifting and comforting.
Why You’ll Love This Mint Chocolate Chip Magic
A Refreshing and Creamy Treat
This ice cream delivers the perfect balance of creaminess and cool mint, making it an irresistible dessert on a hot day.
Rich Chocolate Goodness
With generous chocolate chips or chocolate flakes throughout, each bite is filled with a satisfying chocolatey crunch.
Easy to Make at Home
With just a few simple ingredients and an ice cream maker (or a no-churn method), you can create a gourmet-quality treat in your own kitchen.
Customizable to Your Preference
Adjust the mint intensity, add extra chocolate, or experiment with mix-ins like cookie crumbles or caramel swirls.
No Artificial Ingredients
Unlike store-bought versions, this homemade ice cream contains no preservatives, artificial colors, or unnecessary additives.
Ingredients You’ll Need
For the Ice Cream Base:
- 2 cups heavy cream
- 1 cup whole milk
- ¾ cup granulated sugar
- 1 teaspoon vanilla extract
- 1 teaspoon peppermint extract (adjust to taste)
- A few drops of green food coloring (optional)
For the Chocolate Magic:
- ¾ cup semi-sweet or dark chocolate chips
- 1 tablespoon coconut oil (for a magic shell effect, optional)
- ¼ teaspoon salt (to enhance chocolate flavor)
These simple ingredients come together to create an irresistibly smooth and flavorful Mint Chocolate Chip Magic that will have you coming back for more!
Step-by-Step Instructions

Step 1: Prepare the Ice Cream Base
In a mixing bowl, whisk together the heavy cream, whole milk, sugar, vanilla extract, and peppermint extract until the sugar is fully dissolved. If you prefer a vibrant green color, add a few drops of food coloring and mix well.
Step 2: Chill the Mixture
Cover the bowl and refrigerate for at least 2 hours (or overnight) to allow the flavors to meld and the mixture to cool completely.
Step 3: Churn the Ice Cream
Pour the chilled mixture into an ice cream maker and churn according to the manufacturer’s instructions, typically 20–25 minutes, until the ice cream reaches a soft-serve consistency.
Step 4: Add the Chocolate Chips
While the ice cream is churning, melt the chocolate chips with Coconut oil (if using) in a microwave-safe bowl in 20-second increments until smooth. Let it cool slightly.
Step 5: Create the Magic Chocolate Ribbons
During the last few minutes of churning, slowly drizzle the melted chocolate into the ice cream. The chocolate will harden instantly, creating delicate chocolate flakes throughout.
Step 6: Freeze Until Firm
Transfer the churned ice cream to an airtight container and freeze for at least 3 hours, or until firm enough to scoop.
Step 7: Serve and Enjoy!
Scoop the ice cream into bowls or cones, and enjoy the refreshing mint flavor with crunchy chocolate swirls!
Recipe Variation
No-Churn Mint Chocolate Chip Magic
For a no-churn version, skip the ice cream maker and whip the heavy cream to soft peaks.Then, fold in the sugar, milk, peppermint extract, and vanilla extract, followed by the food coloring (if using).
Add mini chocolate chips for an extra crunch and freeze in a loaf pan. Stir every 30 minutes for the first 2 hours to prevent ice crystals from forming.
Mint Chocolate Chip with Fresh Mint
For a richer mint flavor, steep fresh mint leaves in warm milk for about 30 minutes.
Strain the milk and let it cool before adding it to the ice cream base. This will infuse the ice cream with a more natural, fresh mint taste.
Vegan Mint Chocolate Chip Magic
Use coconut cream or almond milk as a substitute for heavy cream and whole milk, and swap the granulated sugar for maple syrup or another sweetener of choice.
You can also replace the chocolate chips with dairy-free chocolate to make it fully vegan.
What to Serve with Mint Chocolate Chip Magic
1. Chocolate Drizzle or Fudge Sauce
A warm chocolate sauce takes this minty treat to the next level.
2. Crushed Cookies or Brownie Pieces
Top your ice cream with crushed Oreos, chocolate chip cookies, or brownie chunks for extra texture.
3. Fresh Mint Leaves
A few fresh mint leaves make a simple but elegant garnish.
4. Whipped Cream and Sprinkles
For a fun and festive touch, add a dollop of whipped cream with chocolate sprinkles.
5. Ice Cream Sandwiches
Scoop this ice cream between two chocolate cookies for a delicious homemade ice cream sandwich!
Storage & Meal Prep Tips
Storing the Ice Cream
- Store in an airtight, freezer-safe container to prevent ice crystals from forming.
- Press a piece of plastic wrap directly onto the surface before sealing the lid to maintain freshness.
- Best enjoyed within 2–3 weeks for the freshest flavor.
Softening for Serving
- If the ice cream is too firm, let it sit at room temperature for 5 minutes before scooping.
Meal Prep Tip
- Freeze individual servings in small containers for quick treats without thawing the entire batch.
Final Thoughts
Mint Chocolate Chip Magic is a homemade delight that combines the refreshing coolness of mint with the rich crunch of chocolate.
It’s easy to make, fully customizable, and far better than store-bought versions.
Whether you serve it in a cone, a bowl, or as part of a dessert creation, this ice cream is guaranteed to satisfy your cravings.
Try making it today and experience the homemade magic!
Frequently Asked Questions
Can I make this ice cream without an ice cream maker?
Yes! You can whip the heavy cream until soft peaks form, then fold in the remaining ingredients and freeze in a loaf pan for at least 6 hours, stirring every 30 minutes for the first 2 hours.
What type of chocolate works best for the mix-ins?
Semi-sweet or dark chocolate works best, as it balances the sweetness of the ice cream. You can use chocolate chips, chunks, or a magic shell drizzle.
Can I use fresh mint instead of peppermint extract?
Yes! Steep fresh mint leaves in warm milk for 30 minutes, then strain and chill before using in the recipe.
How can I make this dairy-free?
Substitute coconut milk for the heavy cream and almond or oat milk for the whole milk. Use dairy-free chocolate chips for a fully vegan version.
Can I add extra mix-ins?
Absolutely! Try adding crushed chocolate cookies, white chocolate chips, or even chopped nuts for extra flavor and texture.
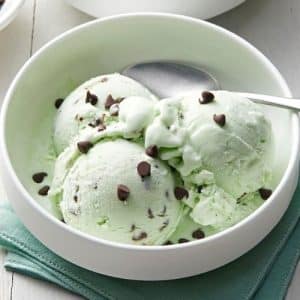
Mint Chocolate Chip Magic
Equipment
- 1 Ice Cream Maker
- 1 large mixing bowl
- 1 Whisk
- 1 Airtight Freezer Container
- 1 Microwave-Safe Bowl (for melting chocolate)
Ingredients
Ice Cream Base
- 2 cups heavy cream
- 1 cup whole milk
- ¾ cup granulated sugar
- 1 teaspoon vanilla extract
- 1 teaspoon peppermint extract
- 3 –4 drops green food coloring optional
Chocolate Swirl
- 1 cup semi-sweet chocolate chips
- 1 tablespoon coconut oil optional, for softer chocolate pieces
Instructions
Step 1: Make the Ice Cream Base
- In a large mixing bowl, whisk together the heavy cream, whole milk, sugar, vanilla extract, and peppermint extract until the sugar dissolves. Add food coloring if using.
Step 2: Chill the Mixture
- Cover the bowl and refrigerate for at least 2 hours or overnight for the best flavor.
Step 3: Churn the Ice Cream
- Pour the chilled mixture into an ice cream maker and churn according to the manufacturer’s instructions (about 20–25 minutes) until it reaches a thick, soft-serve consistency.
Step 4: Prepare the Chocolate Drizzle
- While the ice cream churns, melt the chocolate chips and coconut oil in a microwave-safe bowl in 20-second increments, stirring in between, until smooth. Let it cool slightly.
Step 5: Add the Chocolate Swirl
- During the last few minutes of churning, slowly drizzle the melted chocolate into the ice cream. The chocolate will harden upon contact, creating delicate flakes.
Step 6: Freeze Until Firm
- Transfer the churned ice cream to an airtight container and freeze for at least 3 hours until firm.
Step 7: Serve and Enjoy!
- Scoop into bowls or cones, garnish as desired, and enjoy the refreshing minty goodness!
Notes
- For a no-churn version, whip the heavy cream to soft peaks, then fold in the remaining ingredients before freezing in a loaf pan. Stir every 30 minutes for the first 2 hours.
- For extra crunch, add mini chocolate chips instead of melted chocolate.
- For a richer mint flavor, steep fresh mint leaves in warm milk for 30 minutes, then strain and cool before using.
- Storage Tip: Keep in an airtight container in the freezer for up to 3 weeks for the best texture.