All products are selected by our editorial team for quality. If you buy through our links, we may earn a small commission at no extra cost to you.
There’s something truly special about baking Classic Artisan Bread at home.
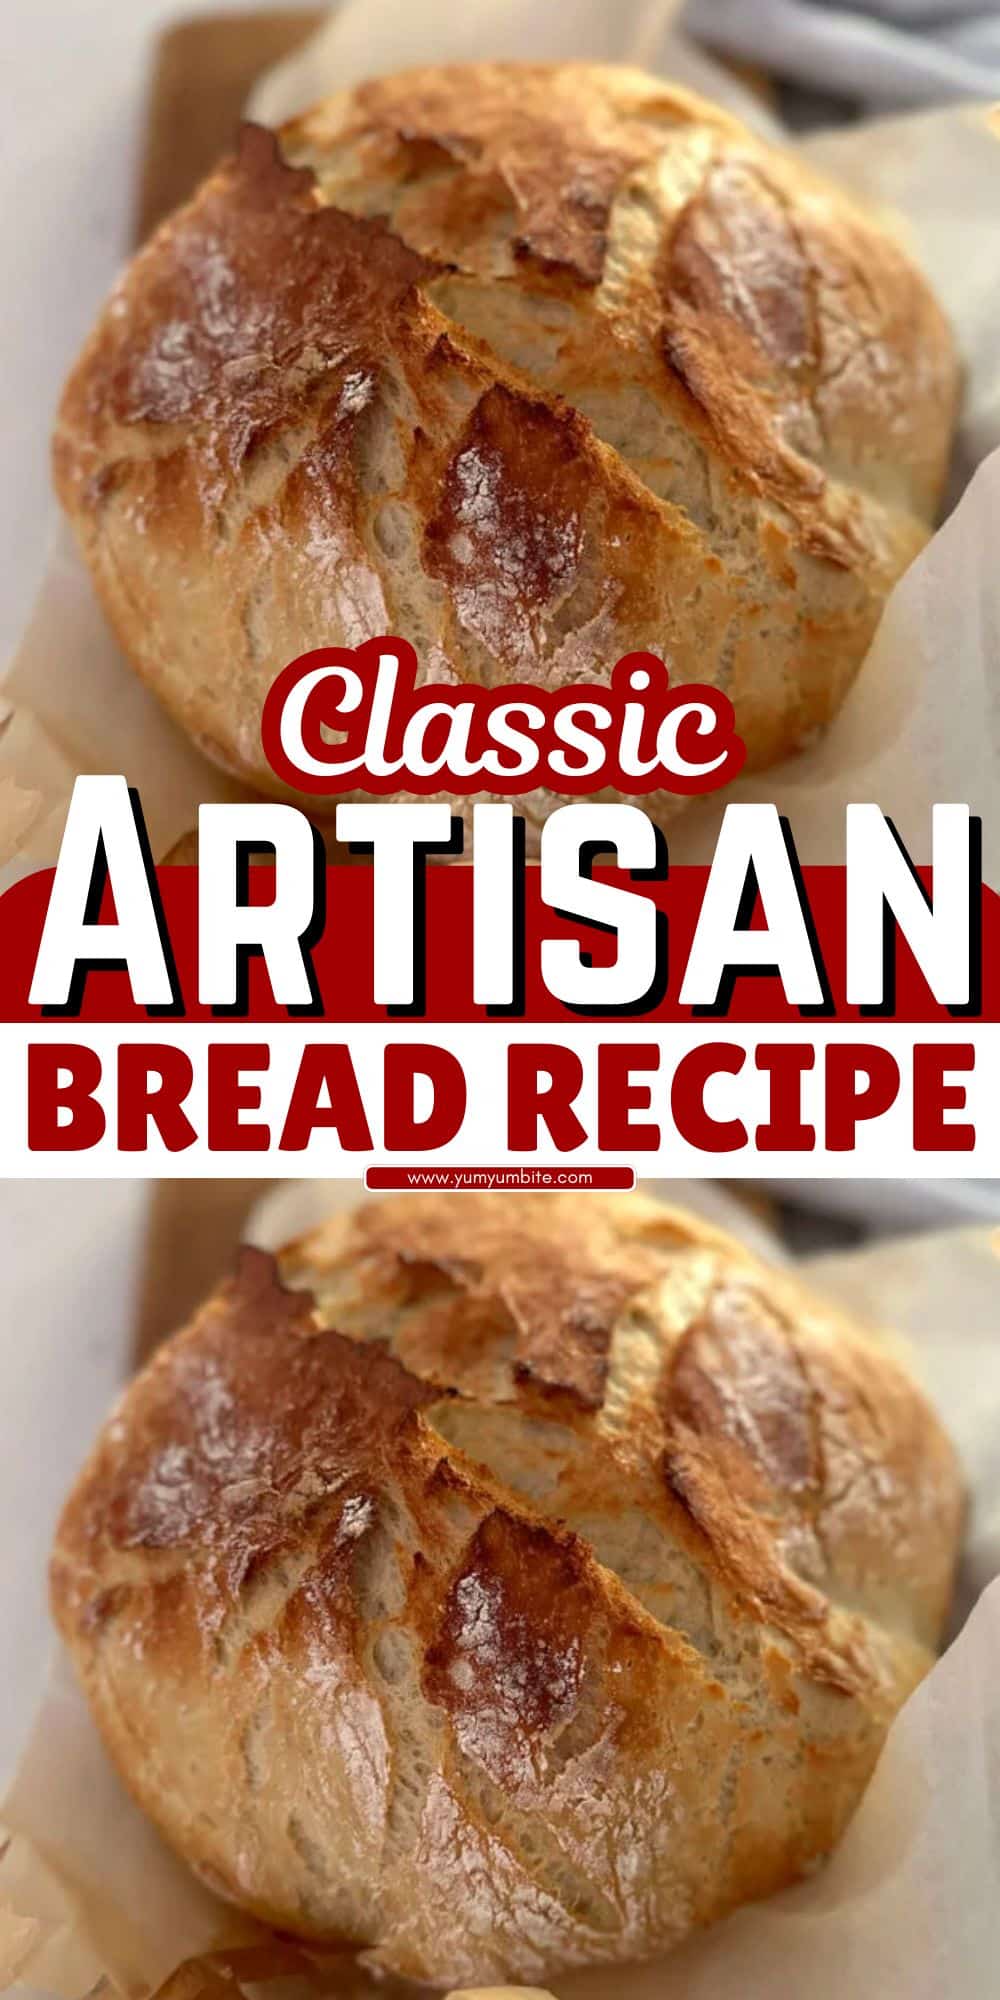
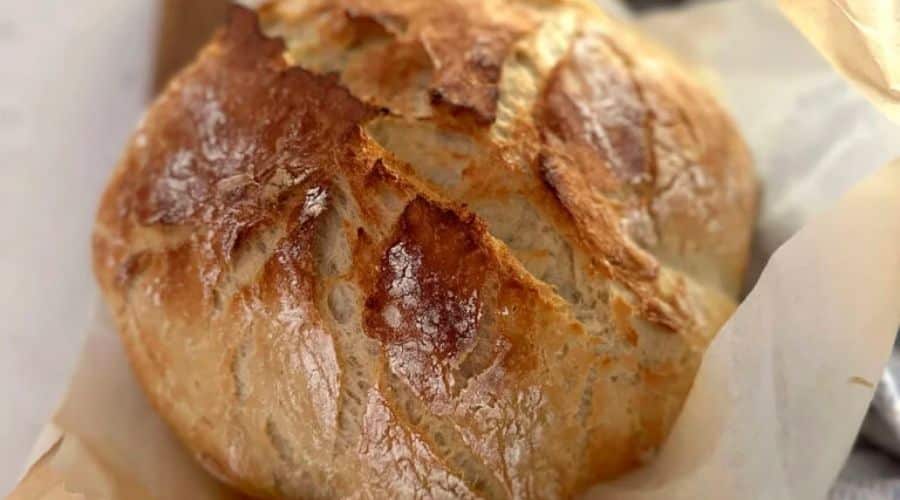
With its crisp, golden crust and airy, tender crumb, this bread embodies the essence of traditional, handcrafted baking.
Unlike mass-produced loaves, artisan bread relies on simple ingredients, slow fermentation, and careful technique to develop deep, rich flavors.
Whether you’re an experienced baker or just starting out, this recipe will guide you through the rewarding process of making authentic artisan bread.
With minimal effort and no special equipment required, you’ll create a rustic loaf that’s perfect for sandwiches, soups, or simply enjoying with a pat of butter.

Why You’ll Love This Classic Artisan Bread
1. Simple Ingredients, Big Flavor
This bread requires only four basic ingredients—flour, water, salt, and yeast—yet delivers a complex, bakery-style taste.
The long fermentation process enhances the flavor, giving the bread a slightly tangy depth.
2. No Kneading Required
Unlike traditional bread recipes, this one relies on the stretch-and-fold method, making it easy to handle without extensive kneading.
The slow rise does most of the work for you, developing a chewy, airy texture effortlessly.
3. A Perfectly Crispy Crust
Baking the bread in a preheated Dutch oven traps steam, creating that signature crunchy crust with a golden-brown finish.
4. Versatile and Customizable
Enjoy this bread fresh, toasted, or as a base for creative variations. Add herbs, cheese, or seeds for a unique twist on the classic recipe.
Ingredients Needed
Essential Ingredients
- Flour – Bread flour works best for a chewy texture, but all-purpose flour also works.
- Water – Hydrates the flour and activates gluten formation.
- Salt – Enhances the flavor and strengthens the dough.
- Yeast – Helps the dough rise, creating a light, airy crumb.
Optional Additions
- Honey or Sugar – Adds a touch of sweetness.
- Herbs & Spices – Rosemary, thyme, or garlic for extra flavor.
- Seeds & Nuts – Sunflower seeds, sesame, or walnuts for added crunch.
Equipment You’ll Need
Basic Baking Tools
- Mixing Bowl – Large enough to allow the dough to expand.
- Wooden Spoon or Dough Whisk – For mixing the ingredients.
- Bench Scraper – Helps with shaping and handling the dough.
For Proofing & Baking
- Proofing Basket (Optional) – Gives the bread a professional shape.
- Parchment Paper – Prevents sticking when transferring the dough.
- Dutch Oven or Baking Stone – Essential for achieving a crispy crust by trapping steam.
For Measuring & Timing
- Kitchen Scale – Ensures precise ingredient measurements.
- Timer – Helps track fermentation and baking times.
Step-by-Step Instructions

Step 1: Prepare the Dough
In a large mixing bowl, combine the flour, salt, and yeast. Gradually add water while stirring with a wooden spoon until a rough, shaggy dough forms.
There’s no need to knead—just make sure all the flour is absorbed.
Cover the bowl with a damp kitchen towel and let it rest for 30 minutes to allow the flour to fully hydrate.
Step 2: Stretch and Fold for Gluten Development
Instead of traditional kneading, use the stretch-and-fold method to strengthen the dough:
- Grab one side of the dough, stretch it upward, and fold it over itself.
- Rotate the bowl and repeat this process 3–4 times.
- Cover and let the dough rest for 30 minutes.
- Repeat this process 3 more times every 30 minutes.
Step 3: First Rise (Bulk Fermentation)
Cover the bowl with plastic wrap or a damp towel and let the dough rise at room temperature for 12–18 hours.
The dough should double in size and have a bubbly surface. This long fermentation develops deep flavor and texture.
Step 4: Shaping the Dough
Lightly flour a clean surface and gently transfer the dough onto it. Avoid deflating too much air.
Shape the dough into a ball by tucking the edges underneath. Let it rest for 15 minutes before final shaping.
Step 5: Second Rise (Final Proofing)
Place the shaped dough into a proofing basket or a floured bowl lined with parchment paper.
Cover and let it rise for 1–2 hours until puffy but not overproofed.
Step 6: Preheat and Bake
Preheat your oven to 475°F (245°C) with a Dutch oven inside for at least 30 minutes.
When ready, carefully transfer the dough with parchment paper into the hot Dutch oven.
- Cover and bake for 30 minutes to allow steam to create a crispy crust.
- Uncover and bake for another 15–20 minutes until the crust turns deep golden brown.
- Tap the bottom of the loaf—it should sound hollow when done.
Step 7: Cooling and Enjoying
Transfer the bread to a wire rack and let it cool completely for at least 1 hour before slicing.
Cutting too soon may result in a gummy texture. Once cooled, enjoy it fresh or toasted!
Tips for Perfect Artisan Bread
1. Use High-Quality Flour
Bread flour provides more structure and chewiness, but all-purpose flour works too.
2. Allow Enough Fermentation Time
The longer the rise, the better the flavor. A slow, overnight fermentation enhances the bread’s taste and texture.
3. Don’t Skip the Stretch-and-Fold
This technique strengthens the dough and creates a light, airy crumb without kneading.
4. Preheat Your Dutch Oven
A hot baking environment ensures a crisp, crackly crust by trapping steam inside the pot.
5. Let the Bread Cool Completely
Cooling allows the crumb to set properly, preventing a gummy interior when sliced.
How to Store and Reheat
Storing at Room Temperature
- Keep the bread uncovered for the first 24 hours to maintain its crispy crust.
- After that, store it in a paper bag or wrapped in a clean kitchen towel to prevent sogginess.
Freezing for Long-Term Storage
- Wrap the loaf tightly in plastic wrap and then in aluminum foil.
- Store in a freezer-safe bag for up to 3 months.
- To thaw, let it sit at room temperature for a few hours.
Reheating for a Freshly-Baked Taste
- Preheat your oven to 350°F (175°C).
- Lightly sprinkle the crust with water.
- Bake for 10 minutes to restore crispiness.
Final Thoughts
Baking Classic Artisan Bread at home is a rewarding experience that requires minimal effort but delivers bakery-quality results.
With just four simple ingredients and a little patience, you can create a loaf that’s crispy on the outside, soft and airy on the inside, and full of delicious flavor.
Whether you enjoy it with butter, use it for sandwiches, or serve it alongside soups, this bread will quickly become a staple in your kitchen.
Try experimenting with different flours, mix-ins, or baking techniques to make it uniquely yours.
If you’ve tried this recipe, let me know how it turned out in the comments below.
Frequently Asked Questions
1. Can I use all-purpose flour instead of bread flour?
Yes! While bread flour provides a chewier texture, all-purpose flour works well too.
You may need to adjust the water slightly if using all-purpose flour.
2. What if I don’t have a Dutch oven?
You can bake the bread on a preheated baking stone with a pan of hot water placed on the lower oven rack to create steam.
This helps mimic the Dutch oven’s effect.
3. How do I know if my dough is properly fermented?
Well-risen dough should be bubbly, soft, and slightly domed. If you gently press it with a finger, it should spring back slowly.
4. Why is my artisan bread too dense?
A dense loaf can be caused by underproofing, too much flour, or not enough hydration. Make sure to follow the fermentation and hydration steps carefully.
5. Can I add flavors like herbs or cheese?
Absolutely! Add fresh herbs, shredded cheese, or seeds during the initial dough-mixing stage for a flavorful variation.

Classic Artisan Bread
Equipment
- 1 Large Mixing Bowl – For mixing and fermenting the dough
- 1 Wooden Spoon or Dough Whisk – To mix the ingredients
- 1 Bench Scraper – Helps with shaping the dough
- 1 Proofing Basket or Bowl – For the final rise
- 1 Sheet of Parchment Paper – Prevents sticking during baking
- 1 Dutch Oven (with Lid) – Traps steam for a crispy crust
- 1 Kitchen Scale – Ensures precise ingredient measurements
- 1 Timer – Helps track fermentation and baking times
Ingredients
Basic Ingredients
- 3 ½ cups 420g Bread Flour (or all-purpose flour)
- 1 ½ cups 360ml Water (room temperature)
- 1 ½ teaspoons 9g Salt
- ¼ teaspoon 1g Instant Yeast
Optional Additions
- 1 tablespoon Honey or Sugar for slight sweetness
- 1 teaspoon Dried Herbs rosemary, thyme, or basil for extra flavor
- 2 tablespoons Seeds or Nuts sesame, sunflower, or walnuts for crunch
Instructions
Step 1: Mixing the Dough
- In a large mixing bowl, whisk together the flour, salt, and yeast. Gradually pour in the water while stirring with a wooden spoon until a sticky, shaggy dough forms. Cover with a damp kitchen towel and let rest for 30 minutes.
Step 2: Stretch and Fold
- Instead of kneading, use the stretch-and-fold method: pull up one side of the dough, fold it over, and rotate the bowl. Repeat 3–4 times every 30 minutes for the next 2 hours.
Step 3: First Rise (Bulk Fermentation)
- Cover the bowl and let the dough rise at room temperature for 12–18 hours until doubled in size and bubbly.
Step 4: Shaping the Dough
- Lightly flour a surface and gently shape the dough into a round loaf. Place it in a proofing basket or floured bowl, cover, and let it rise for another 1–2 hours.
Step 5: Preheat and Bake
- Preheat the oven to 475°F (245°C) with a Dutch oven inside for at least 30 minutes. Transfer the dough (with parchment paper) into the hot Dutch oven.
- Cover and bake for 30 minutes.
- Remove the lid and bake uncovered for 15–20 minutes, until golden brown.
Step 6: Cooling and Serving
- Remove from the Dutch oven and let cool on a wire rack for at least 1 hour before slicing.
Notes
- Hydration Matters: The dough is sticky but avoid adding extra flour; a high-hydration dough gives the best texture.
- Dutch Oven Alternative: If you don’t have a Dutch oven, use a baking stone and place a tray of water in the oven for steam.
- Longer Fermentation = Better Flavor: Letting the dough rise for 18 hours instead of 12 gives a more developed taste.
- Freezing Instructions: Slice the bread before freezing for easy reheating.


