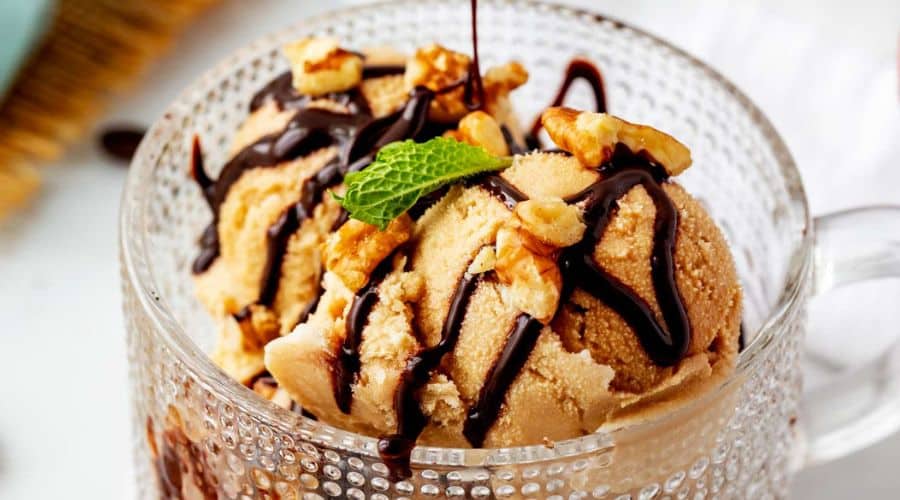
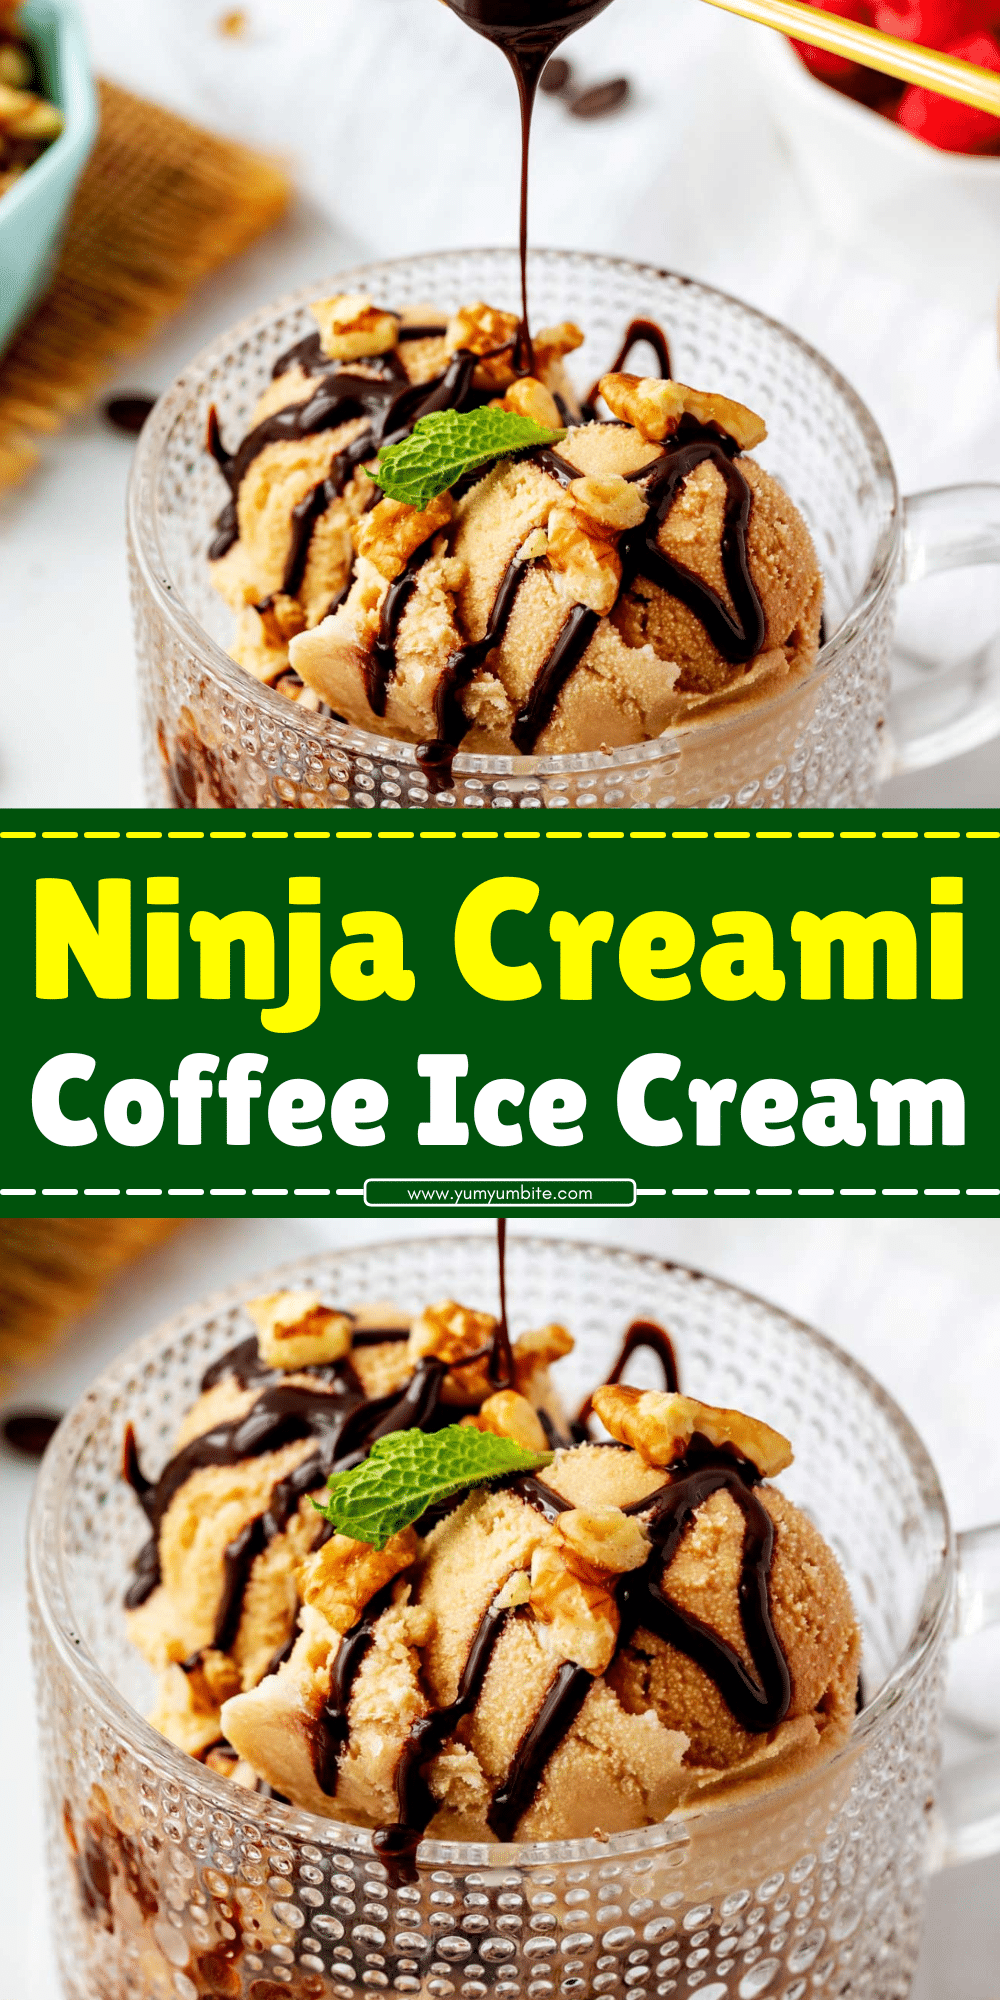
If you’re a coffee lover with a penchant for creamy, decadent desserts, Ninja Creami Coffee Ice Cream is the treat you’ve been waiting for!
This homemade ice cream is made with the help of the Ninja Creami machine, which transforms simple ingredients into an incredibly smooth and rich dessert that captures the essence of coffee in every scoop.
Whether you’re enjoying a relaxing evening on your own or treating friends to a gourmet dessert, this ice cream is bound to impress with its indulgent flavor and satisfying texture.
The best part? You don’t need to be a professional ice cream maker to whip up this creamy delight—thanks to the Ninja Creami, making ice cream at home has never been so easy!
Why You’ll Love Ninja Creami Coffee Ice Cream
Ninja Creami Coffee Ice Cream is a dessert that is as easy to make as it is delicious. With its creamy texture and rich coffee flavor, it’s the perfect treat for anyone who loves a good caffeine kick in their sweet tooth.
The Ninja Creami machine ensures the ice cream is silky smooth, with a consistency that rivals your favorite ice cream shop.
What sets this coffee ice cream apart is its versatility. You can enjoy it on its own as a flavorful scoop of heaven, or use it as a base for sundaes, affogatos, or even as a topping for other baked treats.
With just a few simple ingredients, this recipe offers a quick way to satisfy your sweet cravings without the hassle.
Plus, you can easily adjust the sweetness and coffee strength to suit your personal preferences, ensuring each batch is tailored to your exact taste.
Ingredients for Ninja Creami Coffee Ice Cream
To create this irresistible Ninja Creami Coffee Ice Cream, you’ll need a few basic ingredients that come together to form a perfectly balanced, coffee-flavored base. Here’s what you’ll need:
Main Ingredients:
- Whole Milk: Adds a smooth and creamy texture to the ice cream base.
- Heavy Cream: Contributes to the rich, indulgent creaminess of the ice cream.
- Granulated Sugar: Provides the right amount of sweetness to balance the bold coffee flavor.
- Brewed Coffee: The star ingredient that brings the coffee flavor to life. You can use your favorite coffee blend or even a shot of espresso for a more intense flavor.
- Vanilla Extract: A touch of vanilla enhances the overall taste and adds depth to the coffee flavor.
Optional Add-ins:
- Chocolate Chips: For those who love a little extra sweetness and texture in their ice cream.
- Crushed Nuts: Walnuts, almonds, or hazelnuts make for a great crunchy contrast against the creamy ice cream.
- Coffee Liqueur: For a grown-up twist, a splash of coffee liqueur adds an extra layer of flavor (optional).
These ingredients combine effortlessly to create a rich, creamy ice cream that’s perfect for any coffee enthusiast!
Equipment Needed
To make Ninja Creami Coffee Ice Cream, you’ll need a few key pieces of equipment to ensure everything runs smoothly. Thankfully, the process is simple and doesn’t require any special tools other than your trusty Ninja Creami machine. Here’s what you’ll need:
H3: Essential Equipment:
- Ninja Creami Machine: The hero of the recipe! This machine is designed to churn the ice cream base to perfection, creating a creamy texture without the hassle of traditional ice cream makers.
- Mixing Bowls: Use these to combine and whisk your ingredients together before chilling.
- Measuring Cups and Spoons: For precise measurement of your ingredients to achieve the right balance of flavor and texture.
- Coffee Maker (optional): If you’re brewing fresh coffee, a coffee maker or espresso machine will be essential to get the perfect brew.
- Freezer: A deep freezer is important to ensure your ice cream base is frozen solid before processing in the Ninja Creami.
With the right tools, you’ll be set to create this coffee ice cream effortlessly!
Step-by-Step Instructions for Making Ninja Creami Coffee Ice Cream

Making this coffee ice cream is a simple and enjoyable process, especially with the Ninja Creami. Follow these steps to create your perfect batch:
Step 1: Prepare the Coffee Base
Brew a strong cup of coffee or espresso. The stronger the coffee, the more pronounced the flavor in your ice cream.
Pour the brewed coffee into a mixing bowl and stir in the sugar, vanilla extract, and heavy cream. Whisk everything together until the sugar is dissolved, creating a smooth, cohesive mixture.
Step 2: Chill the Base
Once your mixture is well combined, transfer it to the refrigerator and allow it to chill for about 2 hours. Chilling the base ensures it reaches the ideal temperature before freezing and helps the flavors meld together.
Step 3: Prepare for the Ninja Creami
After the base has chilled, pour it into the Ninja Creami pint container. Make sure the mixture is even and smooth inside the container. Place the container in the freezer for at least 24 hours, allowing the mixture to freeze solid.
Step 4: Process the Ice Cream
Once the ice cream base is fully frozen, remove it from the freezer and place the pint into the Ninja Creami machine. Select the “Ice Cream” function on your Ninja Creami, and let it work its magic. The machine will churn the base into a velvety, creamy texture.
Step 5: Optional Add-ins
After processing, you can add mix-ins like chocolate chips or nuts. Simply make a small well in the center of your ice cream and add any extra ingredients. Then, run the “Mix-Ins” program on the Ninja Creami to incorporate them smoothly.
Step 6: Serve and Enjoy
Scoop the finished ice cream into bowls or cones, and enjoy immediately. If you prefer to store it, transfer the ice cream to an airtight container and place it back in the freezer for later.
Tips for the Best Ninja Creami Coffee Ice Cream
While making Ninja Creami Coffee Ice Cream is straightforward, a few tips can help you elevate the final result:
Tip 1: Use Fresh Coffee
For the best flavor, brew fresh coffee or espresso. The richer the coffee, the more robust the flavor of your ice cream will be.
Tip 2: Chill the Base Thoroughly
Don’t skip the chilling step. Ensuring the base is well-chilled before freezing will result in a smoother texture and prevent any ice crystals from forming during processing.
Tip 3: Be Patient with Freezing
Allow the ice cream base to freeze for at least 24 hours in the Ninja Creami pint container. This will ensure that the mixture solidifies evenly, leading to the creamiest ice cream.
Tip 4: Customize Your Flavors
Feel free to play around with the coffee flavor by adjusting the amount of sugar or adding a splash of coffee liqueur. For a more decadent treat, swirl in some chocolate sauce or add a handful of crushed cookies after the ice cream is processed.
Tip 5: Serve Right Away or Store
While Ninja Creami ice cream is ready to serve right after processing, you can also store it in an airtight container for up to a week. Just let it thaw for a few minutes before scooping for easier serving.
Conclusion
Ninja Creami Coffee Ice Cream is the ultimate treat for coffee aficionados and ice cream lovers alike.
With its rich flavor, smooth texture, and easy preparation, this dessert will quickly become a staple in your kitchen.
Thanks to the Ninja Creami, making homemade ice cream has never been so effortless, allowing you to indulge in gourmet-quality ice cream without leaving your home.
Whether you’re enjoying it on a hot day or pairing it with your favorite dessert, this coffee ice cream is sure to satisfy your sweet cravings and provide the perfect caffeine boost.
Frequently Asked Questions (FAQ)
Can I use decaffeinated coffee for this recipe?
Yes! If you prefer a decaffeinated version of this ice cream, feel free to use decaf coffee or espresso. The process remains the same, and you’ll still get a delicious, creamy treat.
How long does it take to make Ninja Creami Coffee Ice Cream?
The overall process takes about 24 hours, mainly because the base needs to freeze solid for at least a day. However, the active preparation time is only around 15 minutes.
Can I make this ice cream without a Ninja Creami machine?
While the Ninja Creami machine makes this process super easy, you can try making the ice cream in a regular ice cream maker. Just follow the same preparation steps and churn according to the machine’s instructions.
How can I store Ninja Creami Coffee Ice Cream?
Store the ice cream in an airtight container in the freezer for up to a week. Let it thaw for a few minutes before scooping to make serving easier.
Can I add mix-ins to the ice cream?
Absolutely! After processing the ice cream, you can stir in chocolate chips, crushed nuts, or other mix-ins. The Ninja Creami’s “Mix-Ins” feature is perfect for this.

Ninja Creami Coffee Ice Cream
Equipment
- Ninja Creami Machine: 1 unit
- Mixing Bowls: 1 large
- Measuring Cups (1 set)
- Measuring Spoons (1 set)
- Coffee Maker (optional): 1 unit
- Freezer: 1
Ingredients
- 2 cups 480 ml Whole Milk
- 1 cup 240 ml Heavy Cream
- 3/4 cup 150 g Granulated Sugar
- 1 cup 240 ml Brewed Coffee (or espresso for a stronger flavor)
- 1 tsp Vanilla Extract
Optional Add-ins:
- 1/4 cup 40 g Chocolate Chips
- 1/4 cup 30 g Crushed Nuts (walnuts, almonds, or hazelnuts)
- 1 tbsp Coffee Liqueur optional
Instructions
- Prepare the Coffee Base: Brew a strong cup of coffee or espresso. In a mixing bowl, combine the brewed coffee, sugar, vanilla extract, and heavy cream. Whisk everything together until the sugar is fully dissolved and the mixture is smooth.
- Chill the Base: Refrigerate the mixture for at least 2 hours to allow it to chill thoroughly.
- Freeze the Mixture: After chilling, pour the mixture into the Ninja Creami pint container. Ensure the base is evenly spread. Place the container in the freezer and let it freeze for at least 24 hours.
- Process the Ice Cream: Once the base is frozen solid, remove it from the freezer and place it in the Ninja Creami machine. Use the "Ice Cream" setting to churn the mixture into a creamy texture.
- Add Mix-ins (Optional): After processing, you can add mix-ins like chocolate chips or nuts. Stir them into the ice cream or run the “Mix-ins” program to incorporate them evenly.
- Serve and Enjoy: Serve immediately or transfer to an airtight container for later storage. If storing, let the ice cream sit out for a few minutes to soften before scooping.
Notes
- Coffee Flavor: For a stronger coffee flavor, use espresso or a dark roast coffee.
- Chilling: Be sure to chill the base mixture for a few hours before freezing. This ensures a smooth, consistent texture when processed.
- Freezing Time: Allow the ice cream to freeze for at least 24 hours before using the Ninja Creami machine. The longer it freezes, the creamier the result.
- Customizing: Feel free to experiment with different mix-ins like chocolate chunks, caramel swirls, or even a touch of cinnamon for added flavor.