All products are selected by our editorial team for quality. If you buy through our links, we may earn a small commission at no extra cost to you.
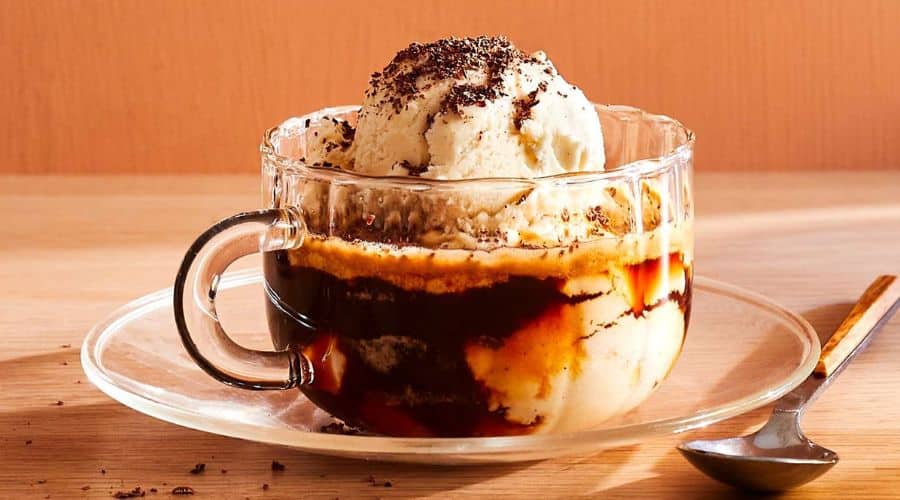
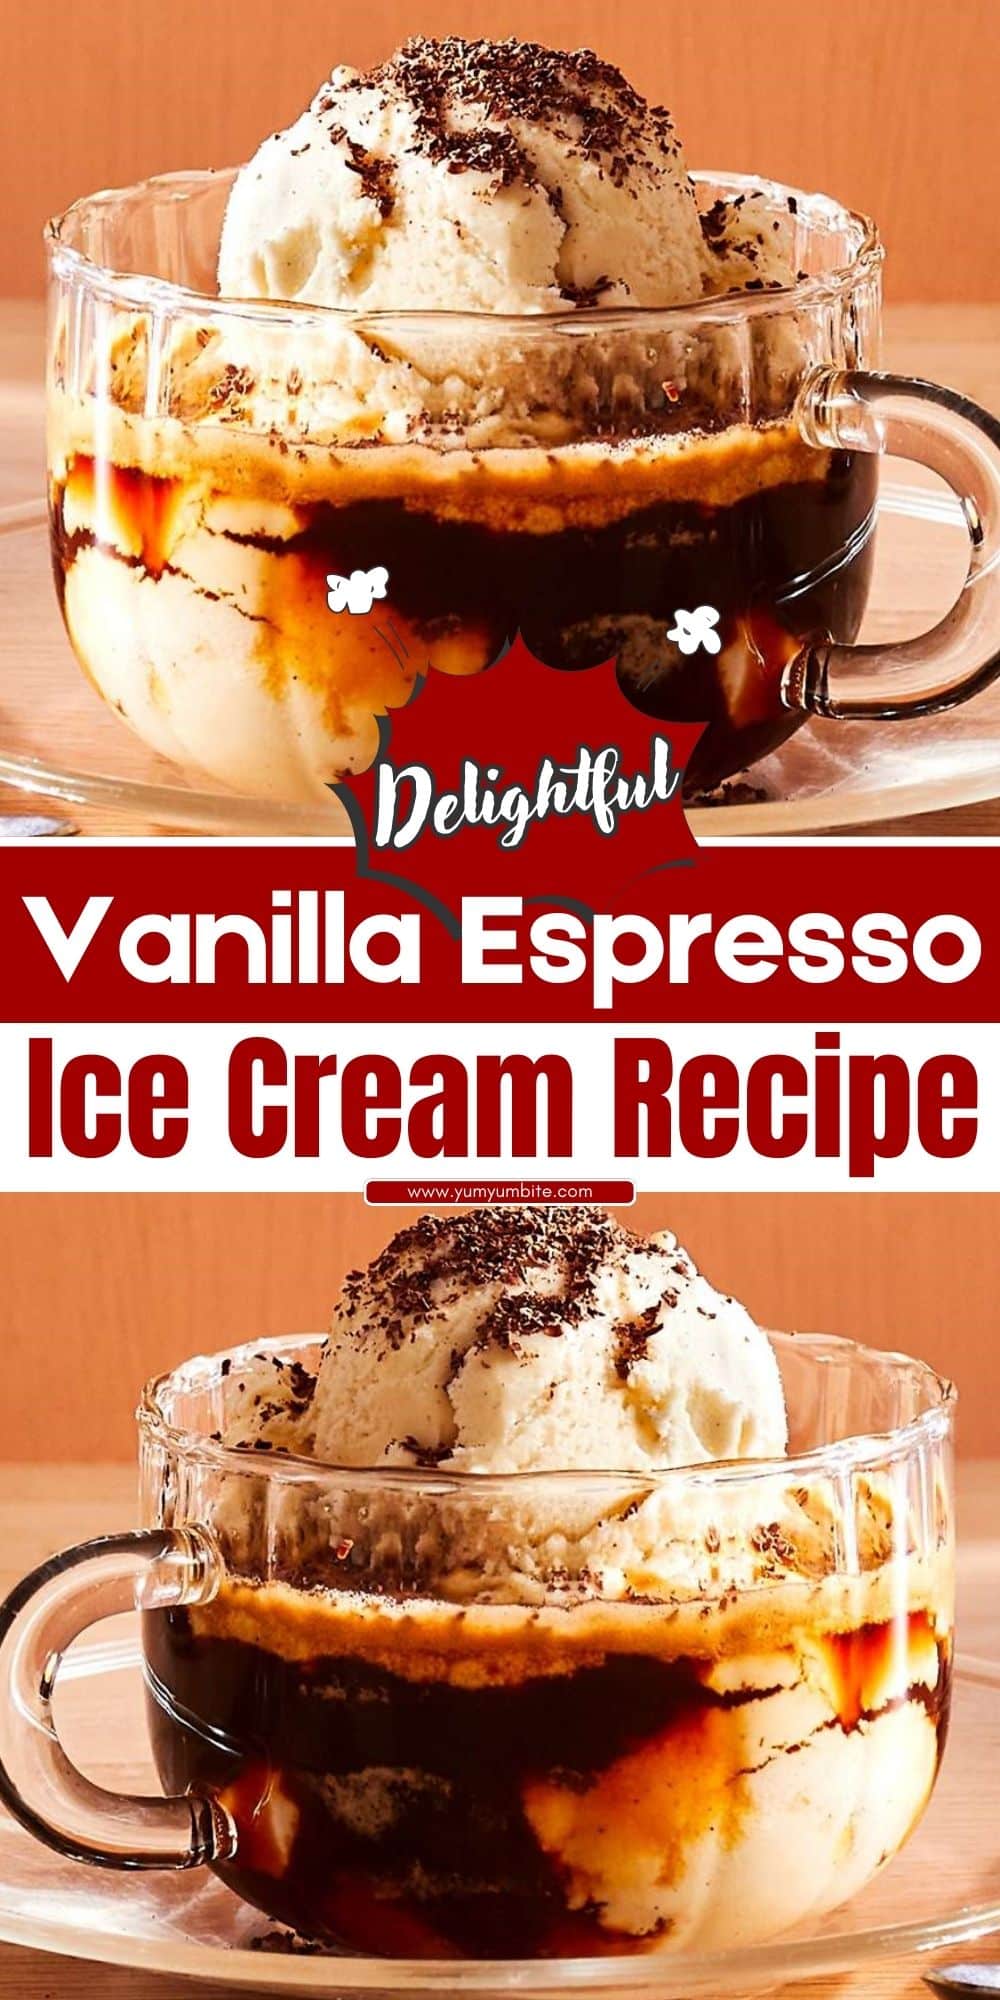
If you’re a coffee lover who enjoys indulgent frozen treats, this Vanilla Espresso Ice Cream is the perfect dessert for you.
The smooth, creamy texture of homemade vanilla ice cream is perfectly complemented by the bold, rich flavor of espresso.
This decadent dessert blends the best of both worlds — the subtle sweetness of vanilla and the energizing kick of coffee.
It’s a sophisticated and delicious way to cool down on a warm day or to treat yourself after a meal.
Whether you’re serving it at a gathering or enjoying a quiet night in, this ice cream will impress with its flavor and velvety consistency.
Why You’ll Love This Vanilla Espresso Ice Cream
This Vanilla Espresso Ice Cream is a dream come true for coffee aficionados and dessert lovers alike.
The vanilla base provides a smooth, creamy foundation that pairs perfectly with the robust espresso, making it a dessert with depth and complexity.
Unlike store-bought versions, this ice cream is made from scratch, so you can enjoy the fresh, intense flavor of high-quality ingredients.
Whether you’re craving something rich and indulgent or simply want to elevate your dessert game, this homemade ice cream delivers both sophistication and comfort.
Plus, it’s easy to make and perfect for any occasion, whether it’s a summer treat or a cozy winter indulgence.
Ingredients You’ll Need
To make this Vanilla Espresso Ice Cream, you’ll need a few key ingredients that will help create the perfect creamy texture and rich coffee flavor.
Here’s what you’ll need:
- Heavy cream: This provides the rich, creamy texture that’s a signature of homemade ice cream.
- Whole milk: Balances the richness of the cream while adding smoothness to the base.
- Granulated sugar: Sweetens the mixture and enhances the flavor.
- Vanilla extract: Adds the signature vanilla taste that pairs beautifully with the espresso.
- Espresso or strong brewed coffee: The bold coffee flavor that takes this ice cream to the next level.
- Salt: Just a pinch enhances the sweetness and balances the flavors.
Optional ingredients include adding a bit of vodka to prevent ice crystals or incorporating chocolate chips or chopped nuts for texture and extra flavor.
With these ingredients, you’re ready to create a dessert that’s both refreshing and indulgent.
Step-by-Step Instructions

Prepare the Espresso
Begin by brewing a strong espresso or a cup of very strong coffee. Let it cool to room temperature before incorporating it into the ice cream mixture.
This ensures the ice cream base stays smooth and doesn’t curdle.
Combine the Dairy Ingredients
In a medium saucepan, add 2 cups of heavy cream and 1 cup of whole milk. Heat the mixture over medium heat, stirring occasionally until it’s warm but not boiling.
Add Sugar and Salt
Stir in ¾ cup of granulated sugar and a pinch of salt into the warm cream and milk mixture. Continue stirring until the sugar is completely dissolved.
Incorporate the Vanilla and Espresso
Remove the saucepan from the heat. Stir in 2 teaspoons of vanilla extract, followed by your cooled espresso. Mix well until all the ingredients are fully combined.
Chill the Mixture
Allow the mixture to cool to room temperature. Once cooled, place it in the refrigerator to chill for at least 2 hours.
The colder the mixture, the better the consistency once churned.
Churn the Ice Cream
Once the mixture is thoroughly chilled, pour it into an ice cream maker.
Churn according to the manufacturer’s instructions, typically for 20-25 minutes, or until the ice cream reaches a soft-serve consistency.
Freeze the Ice Cream
Transfer the churned ice cream into an airtight container. Freeze for 4-6 hours, or until the ice cream is firm and scoopable.
Serve and Enjoy
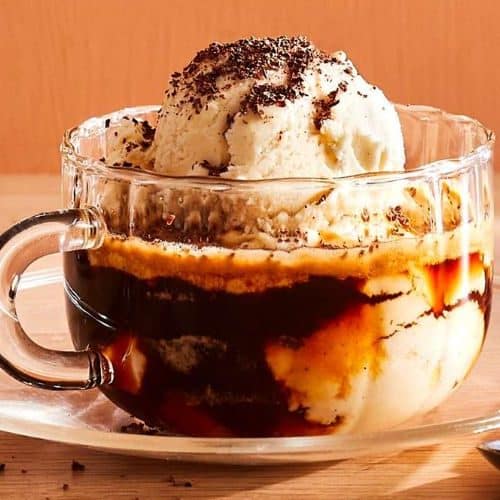
Once your Vanilla Espresso Ice Cream is ready, scoop and serve immediately. If it’s too firm, let it sit out for a few minutes to soften before serving.
Tips for the Best Vanilla Espresso Ice Cream
- Use Fresh Espresso: For the best flavor, always use freshly brewed espresso or strong coffee. The quality of the coffee greatly influences the ice cream’s taste.
- Avoid Overheating: When warming the milk and cream, don’t let it boil—keep it just under simmering. This helps avoid curdling and ensures a smooth texture.
- Chill Thoroughly: Make sure your ice cream base is well-chilled before churning to help the ice cream set properly.
- Add-ins: While this recipe is delicious as is, you can get creative by adding chocolate chips, crushed espresso beans, or chopped nuts for extra texture and flavor.
- Prevent Ice Crystals: For a smoother, creamier texture, consider adding a tablespoon of vodka to the mixture. The alcohol will prevent ice crystals from forming during freezing.
Storage Tips – Keeping Your Ice Cream Fresh
Airtight Containers: Store your Vanilla Espresso Ice Cream in an airtight container to keep it fresh and prevent freezer burn.
Avoid Temperature Fluctuations: Keep your ice cream stored in the coldest part of your freezer. Avoid leaving it in and out of the freezer to maintain the right texture.
Shelf Life: This ice cream will stay fresh for up to 2-3 weeks, but it’s best enjoyed within the first week for the best flavor and texture.
Serving Tip: If the ice cream becomes too hard, let it sit at room temperature for a few minutes before serving to soften it to the perfect consistency.
Conclusion
This Vanilla Espresso Ice Cream is a decadent treat that combines the best of both worlds—sweet, velvety vanilla and the bold, complex flavor of espresso.
It’s perfect for coffee lovers and anyone who enjoys an elevated frozen dessert.
With its rich flavor and creamy texture, this homemade ice cream is a dessert that will impress every time you make it.
Whether you’re serving it at a dinner party or enjoying it alone, it’s guaranteed to be a hit.
So grab your ingredients, follow the easy steps, and indulge in this delightful homemade treat!
Frequently Asked Questions (FAQ)
Can I use instant coffee instead of espresso?
Yes, you can use instant coffee in place of espresso. Just make sure to brew it strong enough to achieve the desired coffee flavor.
How can I make this ice cream dairy-free?
Substitute the heavy cream and whole milk with coconut cream and coconut milk for a dairy-free version.
Can I make Vanilla Espresso Ice Cream without an ice cream maker?
Yes! After preparing the mixture, pour it into a shallow container and freeze.
Every 30 minutes, take it out and stir vigorously with a fork to break up any ice crystals until it reaches the desired texture.
How can I adjust the sweetness of the ice cream?
If you prefer a less sweet ice cream, reduce the amount of sugar by ¼ cup and taste the mixture before churning.
You can always adjust according to your preference.
Can I add other mix-ins like chocolate chips or caramel?
Absolutely! Stir in mix-ins like chocolate chips, crushed espresso beans, or a swirl of caramel once the ice cream has finished churning for added texture and flavor.
Vanilla Espresso Ice Cream
Equipment
- 1 Medium Saucepan
- 1 Ice Cream Maker
- 1 measuring cup
- 1 Mixing Bowl
- 1 Airtight Container for Freezing
Ingredients
- 2 cups 480 mL Heavy Cream
- 1 cup 240 mL Whole Milk
- ¾ cup 150 g Granulated Sugar
- 2 teaspoons Vanilla Extract
- 1 cup 240 mL Espresso or Strong Brewed Coffee (cooled)
- Pinch of Salt
Instructions
Brew the Espresso
- Brew a strong cup of espresso or coffee and allow it to cool to room temperature.
Combine Dairy Ingredients
- In a medium saucepan, combine the heavy cream and whole milk. Heat the mixture over medium heat, stirring occasionally until warm but not boiling.
Add Sugar and Salt
- Stir in the sugar and salt, ensuring the sugar dissolves completely.
Add Vanilla and Espresso
- Remove the saucepan from heat and stir in the vanilla extract and cooled espresso. Mix thoroughly.
Chill the Mixture
- Allow the mixture to cool to room temperature before refrigerating it for at least 2 hours to chill thoroughly.
Churn the Ice Cream
- Pour the chilled mixture into an ice cream maker and churn according to the manufacturer’s instructions, typically for 20-25 minutes.
Freeze
- Transfer the churned ice cream to an airtight container and freeze for 4-6 hours, or until firm.
Serve
- Scoop, serve, and enjoy your homemade Vanilla Espresso Ice Cream.
Notes
- Use fresh espresso: Freshly brewed espresso provides the best coffee flavor. If you don’t have an espresso machine, you can use instant coffee, but be sure to brew it strong.
- Customize the flavor: You can add chocolate chips, nuts, or a swirl of caramel for extra texture and flavor.
- For a smoother texture: Add a tablespoon of vodka to the base to prevent ice crystals from forming during freezing.
- Chill thoroughly: Make sure the mixture is fully chilled before churning for the smoothest texture.
- No ice cream maker? You can still make this ice cream by freezing it in a shallow container and stirring every 30 minutes to break up any ice crystals.