All products are selected by our editorial team for quality. If you buy through our links, we may earn a small commission at no extra cost to you.
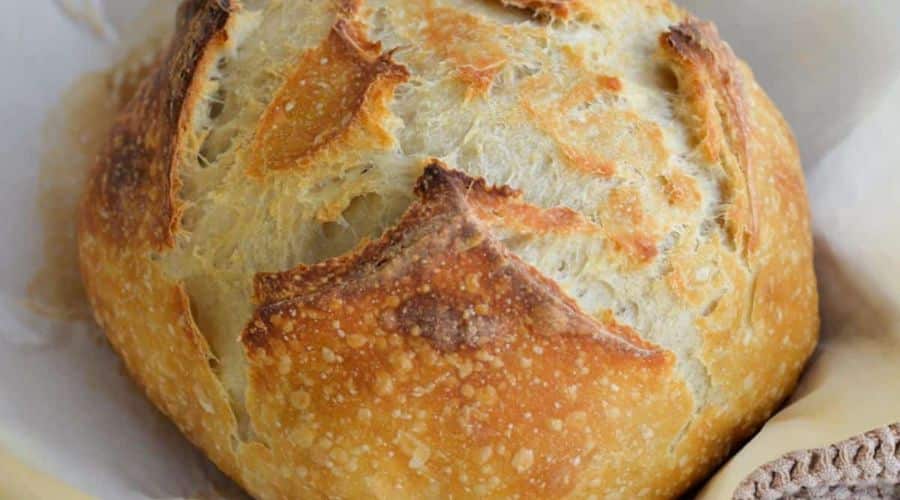
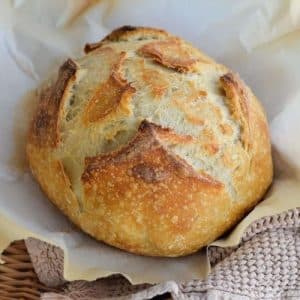
Sourdough bread is one of the oldest forms of leavened bread, and for good reason.
This rustic, tangy loaf is made through a natural fermentation process, which results in a unique flavor and texture that you can’t replicate with commercial yeast.
The chewy interior, crunchy crust, and slightly sour taste make sourdough bread a favorite for many.
Baking your own sourdough bread at home is a rewarding experience that fills your kitchen with the irresistible aroma of fresh bread, and it’s surprisingly simple with the right technique and patience.
If you’ve been thinking about trying your hand at sourdough, this recipe is a perfect place to start.
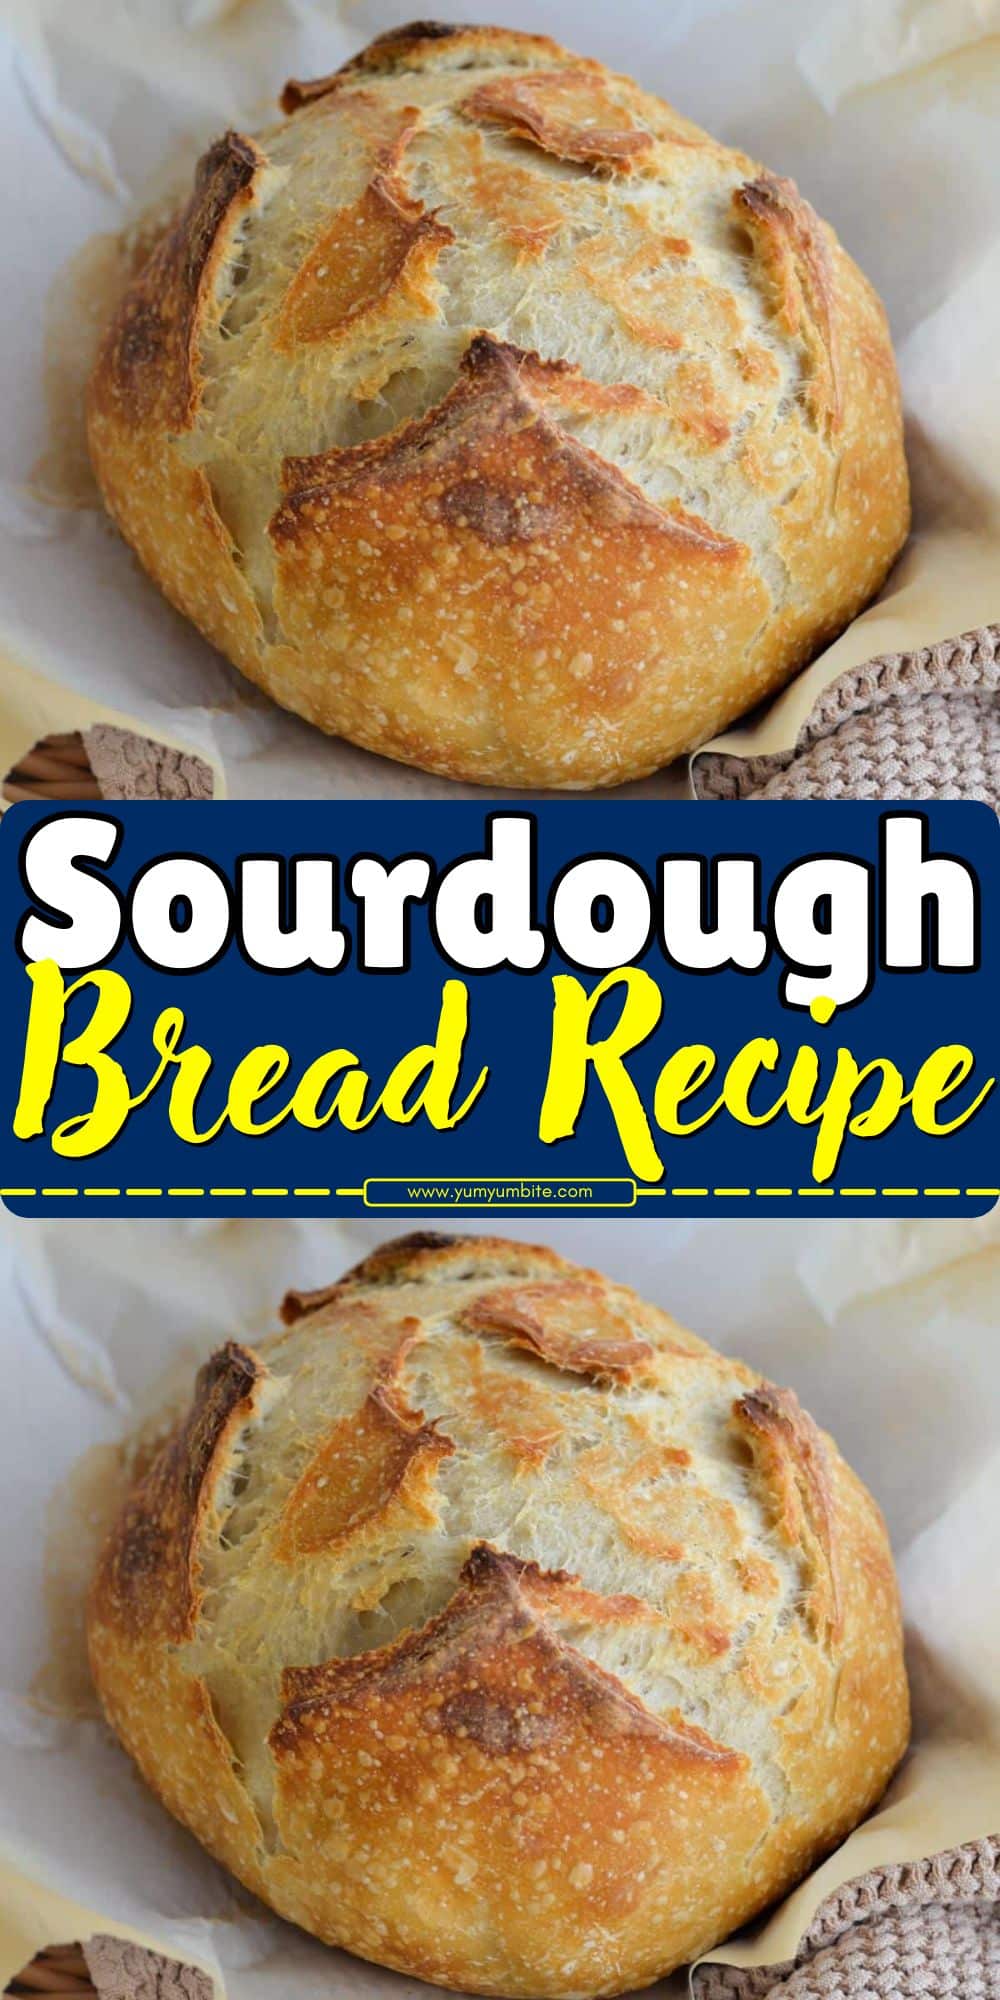
Why You’ll Love This Sourdough Bread Recipe
There’s something truly special about sourdough bread.
Unlike store-bought bread, it’s made with just a few basic ingredients—flour, water, salt, and a sourdough starter.
The magic happens during the fermentation process, which develops complex flavors and textures that store-bought bread can’t compete with.
- Flavor: The slow fermentation process brings out the tangy, slightly sour taste that makes sourdough bread so distinctive.
- Texture: With a crispy, golden crust and a soft, airy crumb, the texture of homemade sourdough is simply unbeatable.
- Health Benefits: Sourdough is easier to digest than other breads and has a lower glycemic index, which means it’s a healthier choice for many.
- Personal Satisfaction: There’s immense pride in baking your own sourdough bread, and the result is incredibly rewarding. The process of nurturing your starter and shaping the dough is part of the fun, and the payoff is well worth the wait.
Ingredients Needed
This sourdough bread recipe requires just a handful of simple ingredients, but the key to its success lies in the technique and timing.
- Flour: You’ll need bread flour for the best structure and texture. You can also experiment with adding whole wheat flour for a heartier flavor.
- Water: Room temperature or slightly warm water is essential to help activate the sourdough starter and promote fermentation.
- Sourdough Starter: The heart of the recipe, your starter is a mixture of flour and water that’s fermented with wild yeast and bacteria. If you don’t already have a starter, you can create one or buy a ready-made one from a local bakery.
- Salt: Just a pinch to enhance the flavor and control yeast activity during the rise.
- Optional Add-ins: If you like, you can add seeds, herbs, or even roasted garlic to elevate the flavor of your sourdough.
These ingredients come together to create a beautifully aromatic and flavorful loaf of bread that’s perfect for sandwiches, dipping in olive oil, or simply enjoying with a pat of butter.
Step-by-Step Instructions

Step 1: Prepare the Sourdough Starter
Before you begin, make sure your sourdough starter is active.
If you’re starting from scratch, you’ll need to create and nurture your starter over 5-7 days. If you already have one, ensure it’s fed and bubbly.
To test its readiness, drop a spoonful of starter into water—if it floats, it’s ready to use.
Step 2: Mix the Dough
In a large bowl, combine 3 cups of bread flour with 1 ¼ cups of water.
Stir until all the flour is hydrated and the dough starts to form.
Let this mixture sit for about 30 minutes (this is called the autolyse phase). Once rested, add 1 teaspoon of salt and ½ cup of sourdough starter to the dough.
Mix thoroughly until everything is well incorporated.
Step 3: Kneading the Dough
Turn the dough out onto a lightly floured surface. Begin kneading the dough by stretching it and folding it over onto itself.
This will help develop the gluten structure. You can also use the “stretch and fold” method if you prefer.
Knead for about 10 minutes until the dough is smooth and elastic.
Step 4: Bulk Fermentation (First Rise)
Place the dough in a lightly oiled bowl and cover it with a damp cloth or plastic wrap.
Let the dough rise for about 4-6 hours, or until it doubles in size.
Every hour, perform a series of stretch and folds to help strengthen the dough. During this time, the dough will develop air pockets and rise slowly.
Step 5: Shape the Dough
Once the dough has risen, turn it out onto a floured surface.
Gently shape the dough into a round or oval loaf, depending on your preference. Use your hands to form a tight surface and tuck the edges underneath.
Step 6: Proof the Dough (Second Rise)
Place the shaped dough into a well-floured proofing basket or bowl.
Cover it and let it rest for about 1-2 hours, or until it has risen again and holds its shape when gently pressed.
Step 7: Preheat the Oven
While the dough is proofing, preheat your oven to 475°F (245°C). Place a Dutch oven or a baking stone in the oven to heat up.
Step 8: Bake the Bread
Once the oven is preheated and your dough is ready, carefully transfer the dough into the hot Dutch oven.
Use a razor blade or a sharp knife to score the top of the loaf.
This allows the bread to expand properly while baking. Cover the Dutch oven with its lid and bake for 20 minutes.
Then, remove the lid and bake for an additional 25-30 minutes, until the bread is golden brown and sounds hollow when tapped on the bottom.
Step 9: Cool the Bread
Once baked, remove the bread from the oven and let it cool on a wire rack for at least an hour before slicing.
This allows the interior to set properly and prevents it from becoming doughy.
Tips for Perfect Sourdough Bread
- Starter Health: Ensure your starter is active and bubbly. A healthy starter is key to getting the right rise and flavor in your bread.
- Hydration: Sourdough dough can be a bit sticky, but don’t add too much flour. The dough should be tacky but manageable for the best texture.
- Fermentation Time: Be patient with the bulk fermentation. The longer it rises, the more flavorful the bread will be. You can even refrigerate it overnight for a slow rise.
- Baking Temperature: Use a very hot oven, and consider using a Dutch oven or a baking stone to help retain heat and achieve a crispy crust.
- Scoring: Don’t skip the scoring step—this allows the bread to expand and ensures a nice, even rise.
How to Store & Reheat Sourdough Bread
Storing Sourdough Bread
Store sourdough bread in a paper bag or wrapped in a clean kitchen towel at room temperature for up to 3 days.
This will help maintain the crust’s texture. Avoid storing sourdough in plastic bags, as they trap moisture and make the crust soft.
For longer storage, you can freeze sourdough bread.
Slice it first for easy access, then wrap it tightly in plastic wrap and aluminum foil before placing it in a freezer bag. It will stay fresh for up to 3 months.
Reheating Sourdough Bread
To reheat sourdough bread and bring back its crispy crust, preheat your oven to 375°F (190°C). Place the bread directly on the oven rack or a baking sheet and bake for 10-15 minutes.
This will help revive the texture and freshness of the bread.
Conclusion
Baking sourdough bread at home is a rewarding and therapeutic process that results in a loaf full of flavor and texture.
With patience and the right technique, you can make a delicious, homemade sourdough loaf that’s perfect for sandwiches, dipping in soups, or simply enjoying with a slice of butter.
Whether you’re a beginner or an experienced baker, this recipe will guide you through the process of creating your own sourdough masterpiece. Happy baking!
Frequently Asked Questions
1. Can I use all-purpose flour instead of bread flour for sourdough?
Yes, you can, but bread flour yields a chewier and higher loaf due to its higher protein content.
If you use all-purpose flour, the loaf may be softer but still delicious.
2. How can I make my sourdough bread more sour?
To increase the sourness of your sourdough, let it ferment for a longer period of time.
You can also reduce the amount of starter you use, which encourages a longer fermentation.
3. Can I make sourdough bread without a Dutch oven?
Yes, you can bake it on a baking stone or a baking sheet.
However, a Dutch oven helps retain heat and moisture, giving the bread its signature crispy crust.
4. How do I know when my sourdough bread is fully baked?
Tap the bottom of the loaf with your knuckles—if it sounds hollow, it’s done.
Alternatively, use a thermometer to check the internal temperature, which should be around 200°F (93°C).
5. Can I make sourdough bread with whole wheat flour?
Yes! You can substitute whole wheat flour for part of the bread flour.
However, whole wheat flour absorbs more water, so you may need to adjust the hydration level of the dough.
Sourdough Bread
Equipment
- 1 Dutch oven (or baking stone)
- 1 Large bowl for mixing
- 1 Proofing basket (or bowl lined with a kitchen towel)
- 1 Razor blade (or sharp knife for scoring)
- 1 Kitchen towel or plastic wrap for covering the dough
- 1 Cooling Rack
Ingredients
- 3 cups bread flour
- 1 ¼ cups water room temperature or slightly warm
- ½ cup sourdough starter active and bubbly
- 1 tsp salt
Instructions
- Prepare the starter: Ensure your sourdough starter is active and bubbly before beginning.
- Mix the dough: In a large bowl, combine 3 cups of bread flour with 1 ¼ cups of water. Stir until the dough begins to form. Allow it to sit for 30 minutes.
- Add starter and salt: After the autolyse phase, mix in ½ cup of sourdough starter and 1 teaspoon of salt. Stir until fully combined.
- Knead the dough: Knead the dough for 10 minutes until smooth and elastic, or use the "stretch and fold" method for better control over the dough texture.
- Bulk fermentation: Place the dough in an oiled bowl, cover, and let it rise for 4-6 hours, performing stretch and folds every hour.
- Shape the dough: Turn the dough out onto a floured surface and shape it into a tight round or oval loaf.
- Proof the dough: Place the shaped dough into a well-floured proofing basket and cover it. Let it rise for 1-2 hours.
- Preheat the oven: Preheat your oven to 475°F (245°C) with a Dutch oven inside.
- Bake the bread: Once the dough is ready, carefully transfer it to the hot Dutch oven, score the top, and bake covered for 20 minutes. After 20 minutes, remove the lid and bake for an additional 25-30 minutes, until the bread is golden brown.
- Cool the bread: Let the bread cool on a wire rack for at least an hour before slicing.
Notes
- Starter Health: A healthy, bubbly starter is essential for the rise and flavor of the bread. Ensure your starter is fed and active.
- Autolyse: The rest period before adding salt and starter helps improve dough hydration and gluten development.
- Hydration: The dough should feel tacky but not too sticky. If it’s too sticky, add a little more flour; if it’s too dry, add a touch more water.
- Slow Rise: Letting the dough rise slowly enhances the flavor. You can refrigerate the dough overnight for an extended fermentation process.
- Crust: For a crispy crust, bake the bread in a preheated Dutch oven to trap steam and give the bread a golden finish.