All products are selected by our editorial team for quality. If you buy through our links, we may earn a small commission at no extra cost to you.
No-knead whole wheat bread is the ultimate easy, hands-off recipe for homemade bread lovers.
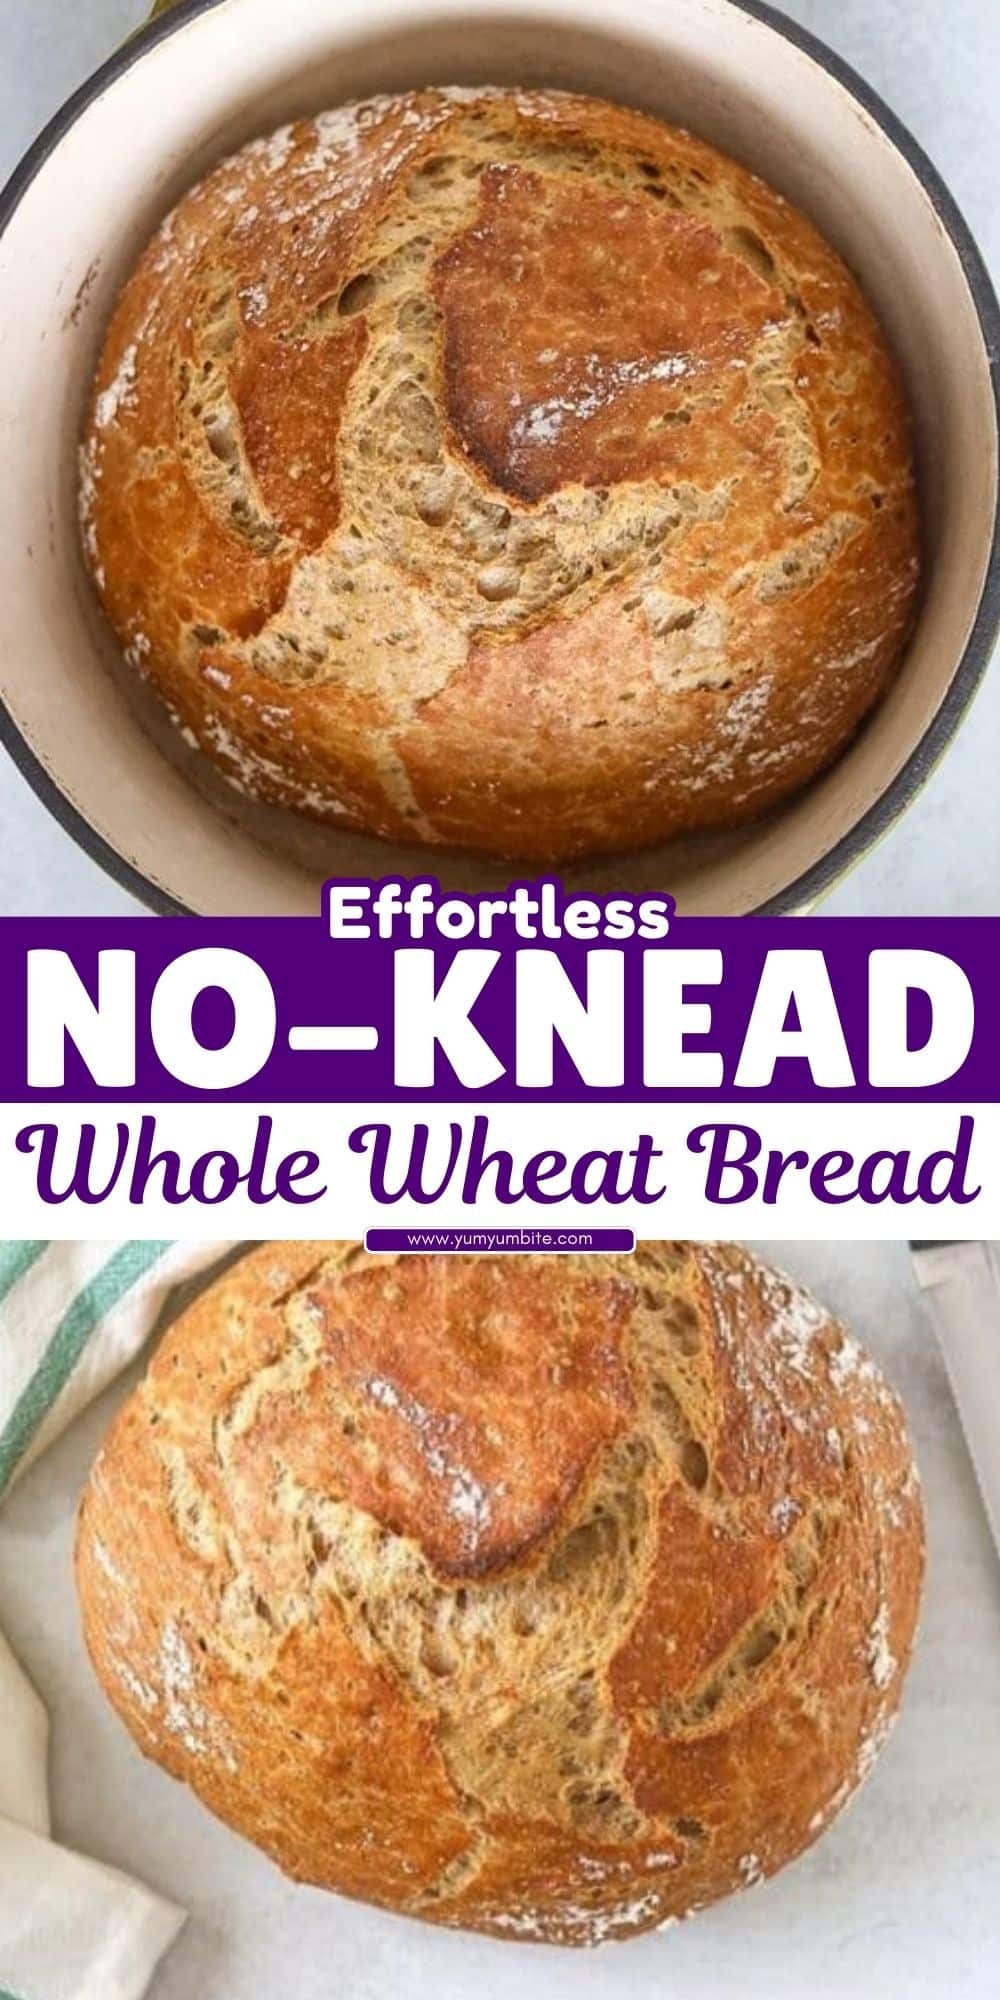
This rustic artisan-style loaf has a deep, nutty flavor with a perfectly crispy crust and a soft, chewy interior.
The beauty of this recipe is that time does the work for you—simply mix the ingredients, let them rest, and bake.
No kneading, no complicated techniques, just a foolproof method for a wholesome, hearty loaf.
Whether you’re a beginner or an experienced baker, this bread is a must-try for its simplicity, nutrition, and delicious taste.

Why You’ll Love This Recipe
1. No Kneading Required
Forget the hassle of kneading—just mix, rest, and bake!
2. 100% Whole Wheat Goodness
This bread is made with 100% whole wheat flour, packed with fiber and nutrients for a healthier option.
3. Perfect Artisan Crust
Baking in a Dutch oven or on a baking stone creates a beautiful golden crust while keeping the inside soft and airy.
4. Versatile & Customizable
You can enhance the flavor with seeds, nuts, or a touch of honey for sweetness.
5. Foolproof for Beginners
Even if you’ve never baked bread before, this recipe is easy to follow and hard to mess up!
Ingredients Needed
Essential Ingredients:
- Whole wheat flour – Provides a hearty, nutty flavor and rich texture.
- Warm water – Helps activate the yeast and hydrate the flour.
- Yeast (instant or active dry) – The key to a light and airy rise.
- Salt – Enhances the flavor and structure of the bread.
Optional Add-Ins for Extra Flavor:
- Honey or maple syrup – Adds slight sweetness and depth.
- Olive oil or melted butter – Creates a softer, richer texture.
- Seeds (flax, sunflower, sesame) – For extra crunch and nutrition.
Step-by-Step Instructions

Step 1: Mixing the Dough
In a large mixing bowl, combine whole wheat flour, salt, and yeast. Slowly pour in warm water and stir using a wooden spoon or spatula until a sticky dough forms.
There’s no need to knead—just mix until everything is incorporated. Cover the bowl with plastic wrap or a damp kitchen towel.
Step 2: First Rise (12-18 Hours)
Let the dough rest at room temperature (around 70°F or 21°C) for at least 12 hours, preferably up to 18 hours.
This slow fermentation process allows the yeast to develop a deep, complex flavor and airy texture. The dough should double in size and have a bubbly surface.
Step 3: Shaping the Dough
Lightly flour a clean surface and your hands.
Gently turn out the dough onto the floured surface, folding it over itself a few times to create a round loaf.
Avoid pressing too hard—this keeps the air pockets intact. Place the shaped dough on parchment paper, cover with a towel, and let it rest for 30-60 minutes.
Step 4: Preheating the Oven & Baking
Preheat your oven to 450°F (230°C) and place a Dutch oven (or an oven-safe pot with a lid) inside to heat for 30 minutes.
Carefully transfer the dough with parchment paper into the hot pot. Cover with the lid and bake for 30 minutes.
Then, remove the lid and bake for another 10-15 minutes until the crust turns deep golden brown.
Step 5: Cooling & Serving
Once baked, remove the bread from the Dutch oven and place it on a wire rack to cool for at least 1 hour before slicing.
This allows the crumb to set properly and prevents a gummy texture. Enjoy your fresh, homemade no-knead whole wheat bread!
Tips for the Perfect No-Knead Whole Wheat Bread
- Use warm (not hot) water – Around 110°F (43°C) is ideal to activate the yeast without killing it.
- Let the dough rest for at least 12 hours – The longer it ferments, the better the flavor.
- Preheat the Dutch oven thoroughly – A hot pot ensures a crispy, golden crust.
- Don’t add too much flour – Whole wheat flour absorbs more liquid, so the dough should remain sticky.
- Customize the recipe – Try adding chopped nuts, seeds, or dried fruit for extra texture and taste.
Storage & Freezing Instructions
Room Temperature:
Store in an airtight container or wrap in a clean kitchen towel for up to 3 days.
Avoid storing it in plastic bags, as this can make the crust soft.
Refrigeration:
Not recommended, as it dries out the bread faster.
Freezing:
- Slice the bread and store it in a ziplock bag or airtight container.
- Freeze for up to 3 months.
- Reheat in a toaster or oven at 350°F (175°C) for a few minutes to restore its crusty texture.
Conclusion
No-knead whole wheat bread is the perfect combination of simplicity and flavor.
Whether you’re a beginner or a seasoned baker, this method guarantees a crispy, golden crust and soft, flavorful crumb with minimal effort.
With just a few pantry staples and patience, you can enjoy a hearty homemade loaf that’s perfect for sandwiches, toast, or pairing with soups and spreads.
Try this easy, no-fail recipe today and enjoy fresh, wholesome bread anytime!
Frequently Asked Questions (FAQs)
1. Can I use all-purpose flour instead of whole wheat?
Yes, but the texture will be softer and less dense. For a balanced flavor, use half whole wheat and half all-purpose flour.
2. Why is my bread too dense?
Whole wheat flour absorbs more liquid, making the dough heavier. Ensure your yeast is fresh, allow a full fermentation period, and avoid adding too much extra flour.
3. Can I make this bread without a Dutch oven?
Yes! You can bake it on a baking stone or sheet, but placing a pan of water in the oven will help create steam for a crispier crust.
4. How can I make the crust softer?
Brush the warm loaf with melted butter after baking, or cover it with a clean kitchen towel while it cools.
5. Can I add flavors like herbs or seeds?
Absolutely! Try rosemary, garlic, sunflower seeds, or flaxseeds for added texture and taste.

No-Knead Whole Wheat Bread
Equipment
- 1 large mixing bowl
- 1 wooden spoon or spatula
- 1 Measuring Cup & Spoons
- 1 Dutch Oven (or oven-safe pot with lid)
- 1 Parchment Paper Sheet
- 1 Cooling Rack
Ingredients
Basic Ingredients:
- 3 cups 360g whole wheat flour
- 1 ½ teaspoons salt
- ½ teaspoon instant yeast or ¾ teaspoon active dry yeast
- 1 ½ cups 360ml warm water (around 110°F or 43°C)
Optional Add-Ins for Extra Flavor:
- 1 tablespoon honey or maple syrup for slight sweetness
- 1 tablespoon olive oil or melted butter for a richer texture
- ¼ cup sunflower seeds flaxseeds, or chopped nuts
Instructions
Step 1: Mix the Dough
- In a large mixing bowl, whisk together the whole wheat flour, salt, and yeast. Slowly add the warm water and mix with a wooden spoon until a sticky dough forms. Cover the bowl with plastic wrap or a damp towel.
- Step 2: Let the Dough Rise
- Let the dough sit at room temperature (70°F/21°C) for 12-18 hours. The dough should double in size and have a bubbly surface.
- Step 3: Shape the Dough
- Lightly flour a surface and gently turn out the dough. Shape it into a round loaf without pressing too hard. Place the dough onto parchment paper and cover it with a towel for a second rise of 30-60 minutes.
- Step 4: Preheat the Oven & Dutch Oven
- Preheat your oven to 450°F (230°C) and place your Dutch oven inside to heat for 30 minutes.
- Step 5: Bake the Bread
- Carefully transfer the dough (with parchment paper) into the preheated Dutch oven. Cover with the lid and bake for 30 minutes. Remove the lid and bake for another 10-15 minutes until the crust is golden brown.
- Step 6: Cool & Serve
- Transfer the bread to a cooling rack and let it rest for at least 1 hour before slicing. Enjoy fresh or toasted!
Notes
- For a lighter texture, use a mix of half whole wheat flour and half all-purpose flour.
- If using active dry yeast, dissolve it in warm water before mixing with the flour.
- For an extra crispy crust, place a small oven-safe dish with hot water on the lower oven rack while baking.
- To make it gluten-free, use a gluten-free flour blend, but note that the texture may vary.
- Best enjoyed fresh, but can be stored for up to 3 days at room temperature or frozen for 3 months.


