All products are selected by our editorial team for quality. If you buy through our links, we may earn a small commission at no extra cost to you.
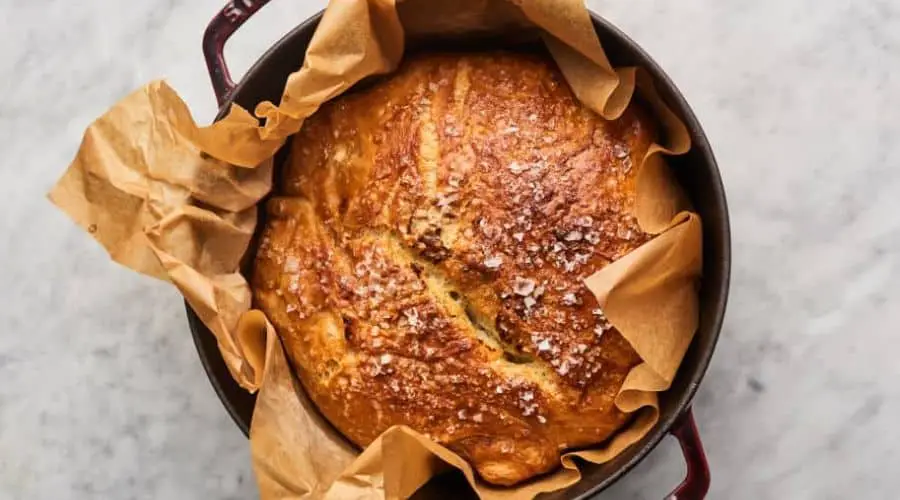
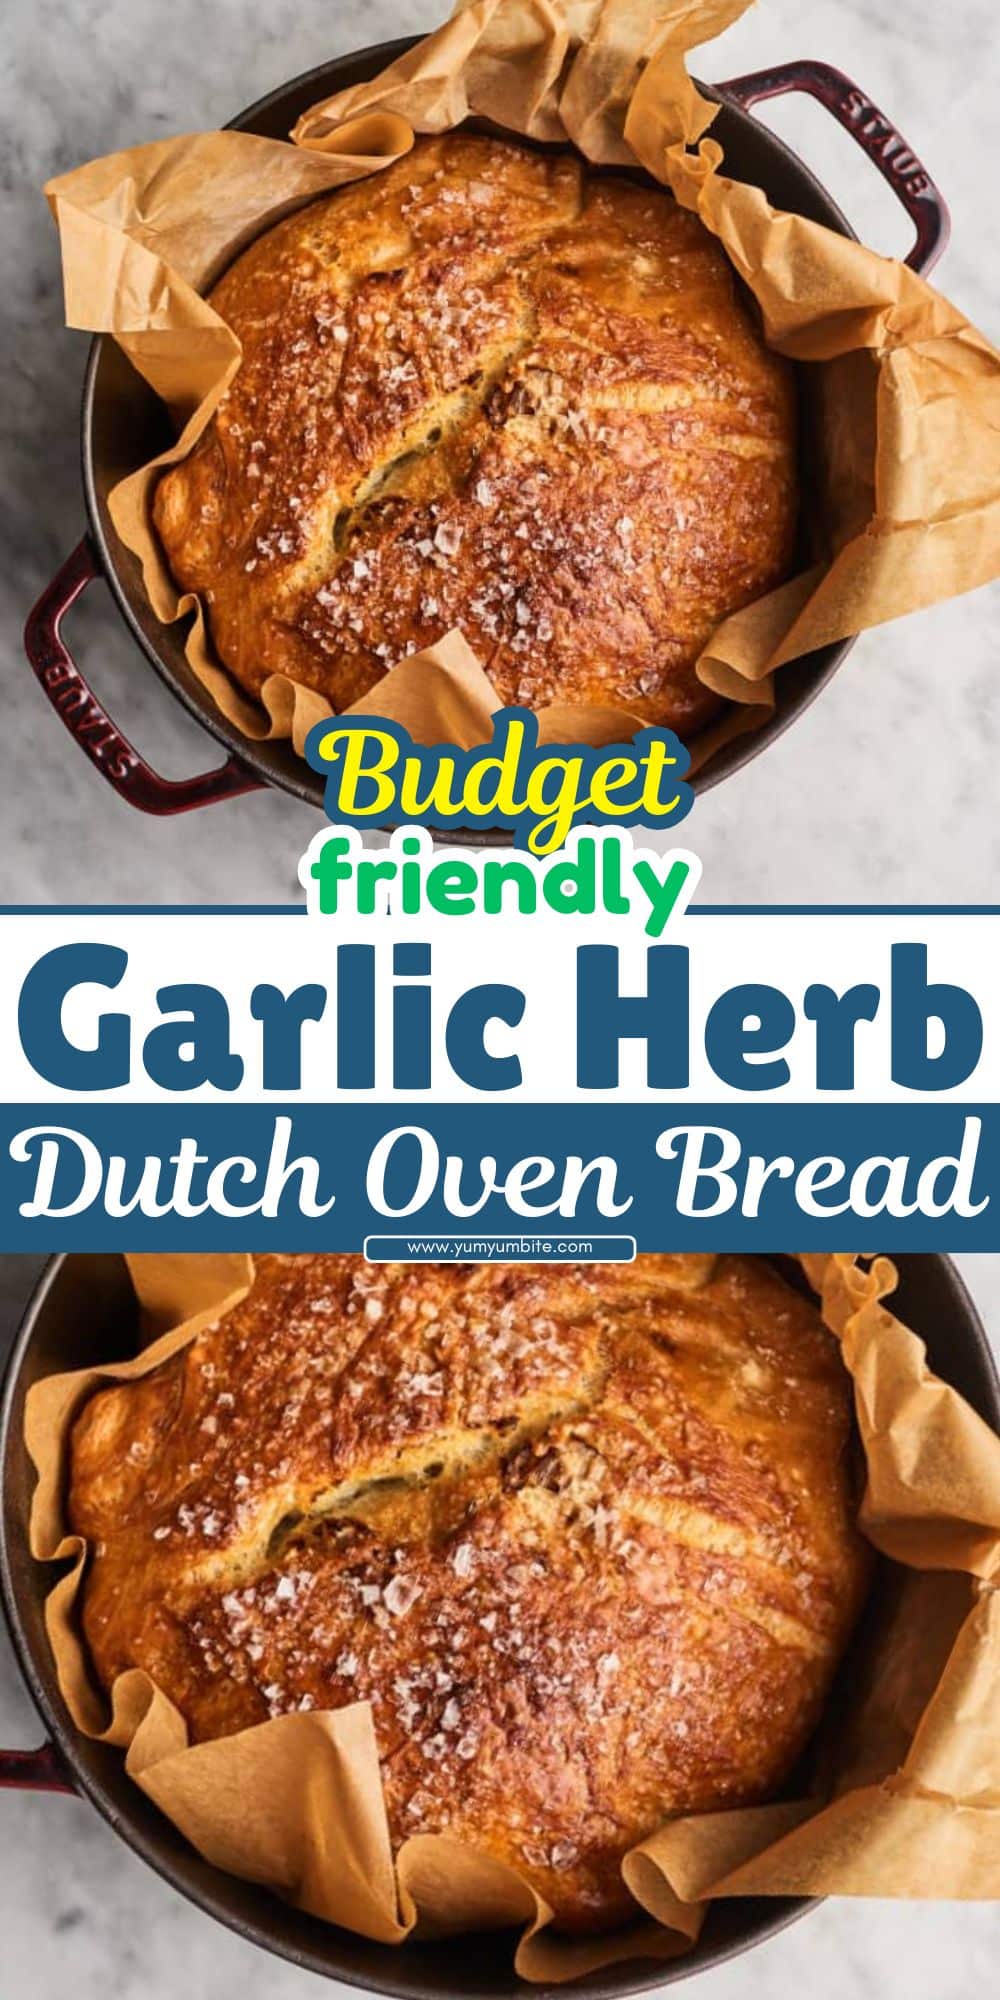
There’s nothing quite like the aroma of freshly baked bread filling your kitchen, and this Garlic Herb Dutch Oven Bread takes it to the next level!
This no-knead artisan bread is packed with savory garlic and fragrant herbs, creating a perfectly crispy crust and a soft, chewy interior.
The secret to its bakery-quality texture?
A slow fermentation process and baking in a preheated Dutch oven, which helps develop a deep, golden crust while keeping the inside airy and light.
Whether you’re serving it with a warm bowl of soup, using it for sandwiches, or simply enjoying it with butter, this homemade garlic herb bread is a must-try.
Best of all, it requires minimal effort and just a handful of pantry staples.
If you’ve never made Dutch oven bread before, this is the perfect recipe to start with!
Why You’ll Love This Garlic Herb Dutch Oven Bread
1. No-Knead & Beginner-Friendly
No need for a stand mixer or complicated kneading—just mix, let it rise, and bake!
2. Bakery-Quality Crust at Home
The Dutch oven creates steam that develops a crispy, golden-brown crust while keeping the inside soft and airy.
3. Packed with Flavor
With fresh garlic, rosemary, thyme, and olive oil, this bread is bursting with savory goodness in every bite.
4. Perfect for Any Occasion
Serve it with soups, dips, or pasta, or enjoy it on its own—it’s a versatile bread for any meal!
5. Stays Fresh Longer
Thanks to the hydration of the dough and the slow fermentation process, this bread remains moist and flavorful for days.
Ingredients Needed
Basic Ingredients
- 3 ½ cups (440g) all-purpose or bread flour – Provides the perfect texture and chewiness.
- 1 ½ cups (360ml) warm water – Activates the yeast and hydrates the dough.
- 2 teaspoons salt – Enhances the overall flavor.
- 1 teaspoon instant yeast – Helps the dough rise without the need for kneading.
Flavor Enhancers
- 4 cloves garlic, minced or roasted – Adds a deep, aromatic garlic flavor.
- 2 tablespoons olive oil – Gives the bread a tender crumb and rich taste.
- 1 teaspoon dried rosemary – Brings a warm, earthy flavor.
- 1 teaspoon dried thyme – Complements the garlic with a subtle herbal note.
- ½ teaspoon black pepper – Adds a touch of spice and depth.
Optional Additions
- ½ cup grated parmesan – For a cheesy, savory twist.
- ½ teaspoon red pepper flakes – If you like a bit of heat.
- 2 tablespoons melted butter – Brushed on top for extra richness.
Equipment You’ll Need
Essential Tools
- Dutch Oven (5-6 qt.) – The key to achieving a perfect crust.
- Mixing Bowl – For combining ingredients and allowing the dough to rise.
- Wooden Spoon or Dough Whisk – Helps mix the dough evenly.
- Parchment Paper – Makes transferring the dough easier.
- Kitchen Scale (optional) – Ensures precise measurements for best results.
Additional Tools
- Bench Scraper – Helps shape the dough without deflating it.
- Proofing Basket (optional) – For a structured second rise.
- Sharp Knife or Bread Lame – To score the dough before baking.
Step-by-Step Instructions

Step 1: Prepare the Dough
In a large mixing bowl, combine flour, salt, yeast, garlic, rosemary, thyme, and black pepper. Stir to distribute the ingredients evenly.
Slowly pour in warm water and olive oil, mixing with a wooden spoon or dough whisk until a shaggy dough forms.
The dough will be sticky—this is normal.
Cover the bowl with plastic wrap or a damp towel and let it rise at room temperature for 12-18 hours.
The dough should double in size and have bubbles on the surface.
Step 2: Shape the Dough
Lightly flour your hands and a clean work surface. Gently turn the dough onto the surface, being careful not to deflate it too much.
Fold the dough edges toward the center a few times to create a round shape. Let it rest for 30 minutes, covered with a towel.
Step 3: Preheat the Dutch Oven
Place a Dutch oven (with the lid) in the oven and preheat to 450°F (230°C) for at least 30 minutes. This ensures a hot, steamy environment for the perfect crust.
Step 4: Transfer the Dough and Score
Place the dough on parchment paper for easy handling. Use a sharp knife or bread lame to score the top (a deep slash allows the bread to expand).
Carefully remove the hot Dutch oven, place the dough inside (with the parchment paper), and cover with the lid.
Step 5: Bake the Bread
Bake at 450°F (230°C) for 30 minutes with the lid on. Then, remove the lid and bake for another 10-15 minutes until golden brown.
The bread is done when it has a deep golden crust and sounds hollow when tapped on the bottom.
Step 6: Cool and Enjoy
Transfer the bread to a wire rack and let it cool completely before slicing. This helps retain moisture and improves the texture.
Tips for Perfect Artisan Bread
1. Let the Dough Rise Overnight
A long fermentation (12-18 hours) develops deep flavor and a chewy texture.
2. Use a Hot Dutch Oven
Preheating your Dutch oven creates the perfect crust by trapping steam inside.
3. Don’t Skip Scoring the Dough
A sharp cut on top prevents random cracking and allows controlled expansion.
4. Let the Bread Cool Before Slicing
Cutting too early can result in a gummy texture—wait at least 30 minutes before slicing.
5. Store Properly for Freshness
Avoid the fridge! Instead, wrap in a towel or store in a paper bag at room temperature.
How to Store and Reheat
Storing at Room Temperature
- Wrap the cooled bread in a clean kitchen towel or store it in a paper bag.
- Avoid plastic bags—they trap moisture and make the crust soft.
- Stays fresh for 2-3 days at room temperature.
Freezing for Later
- Wrap the bread tightly in plastic wrap and then in aluminum foil.
- Store in a freezer-safe bag for up to 3 months.
- Thaw at room temperature before reheating.
Reheating for the Perfect Texture
- Oven: Preheat to 350°F (175°C) and bake for 10-15 minutes.
- Toaster Oven: Heat slices at 300°F (150°C) for 5 minutes.
- Avoid Microwaving: It softens the crust and alters texture.
Final Thoughts
This Garlic Herb Dutch Oven Bread is a game-changer for homemade bread lovers.
With minimal effort, you get a bakery-quality loaf that’s crispy on the outside, soft inside, and infused with rich flavors of garlic and herbs.
Perfect for dipping into soups, making sandwiches, or just enjoying with butter, this bread is an easy yet impressive addition to any meal.
Whether you’re a beginner or a seasoned baker, this recipe guarantees a deliciously rustic loaf every time.
Give it a try and let the aroma of fresh-baked bread fill your kitchen!
Frequently Asked Questions (FAQs)
1. Can I use active dry yeast instead of instant yeast?
Yes! Dissolve 1 teaspoon active dry yeast in warm water and let it sit for 5 minutes before mixing with the dry ingredients.
2. Can I add cheese or other mix-ins?
Absolutely! Try adding ½ cup grated parmesan or cheddar for extra flavor. You can also mix in sun-dried tomatoes or olives.
3. What if I don’t have a Dutch oven?
You can use a regular oven-safe pot with a lid or place a baking dish with water in the oven to create steam.
4. Can I make this bread gluten-free?
Yes, but use a gluten-free bread flour blend designed for artisan bread. The texture may be slightly different.
5. Why is my bread too dense?
This can happen if the dough didn’t rise long enough or if too much flour was added. Stick to the recipe measurements and allow a full rise time.
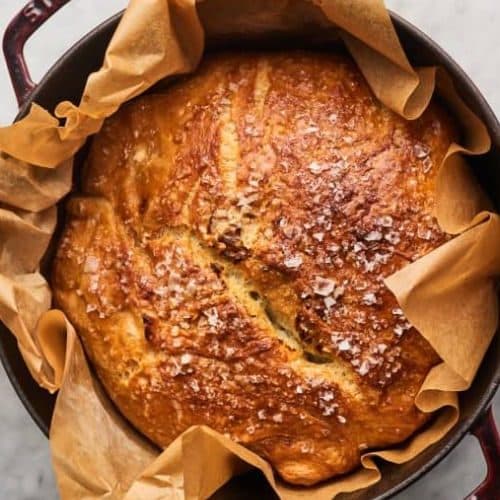
Garlic Herb Dutch Oven Bread
Equipment
- 1 large mixing bowl
- 1 Wooden Spoon or Dough Whisk
- 1 measuring cup
- 1 Measuring Spoon Set
- 1 Dutch Oven (5-7 quarts)
- 1 Parchment Paper Sheet
- 1 Sharp Knife or Bread Lame
- 1 wire cooling rack
Ingredients
- 3 ½ cups 440g all-purpose flour
- 1 ½ teaspoons salt
- 1 teaspoon instant yeast
- 4 cloves garlic minced
- 1 teaspoon dried rosemary or 1 tablespoon fresh, chopped
- 1 teaspoon dried thyme or 1 tablespoon fresh, chopped
- ½ teaspoon black pepper
- 1 ½ cups 360ml warm water
- 1 tablespoon olive oil
Instructions
Step 1: Mix the Dough
- In a large mixing bowl, combine flour, salt, yeast, garlic, rosemary, thyme, and black pepper. Stir well.
- Pour in warm water and olive oil, mixing with a wooden spoon until a sticky dough forms.
- Cover the bowl with plastic wrap or a damp towel and let it rise at room temperature for 12-18 hours. The dough should double in size and have a bubbly surface.
Step 2: Shape the Dough
- Lightly flour your hands and a clean surface. Turn the dough out gently, being careful not to deflate it.
- Fold the dough edges towards the center to shape a rough ball. Let it rest for 30 minutes, covered with a towel.
Step 3: Preheat the Dutch Oven
- Place a Dutch oven (with the lid) in the oven and preheat to 450°F (230°C) for at least 30 minutes.
Step 4: Transfer and Score the Dough
- Place the dough on parchment paper for easy handling. Use a sharp knife or bread lame to score the top.
- Carefully remove the hot Dutch oven, place the dough inside (with parchment paper), and cover with the lid.
Step 5: Bake the Bread
- Bake at 450°F (230°C) for 30 minutes with the lid on. Then, remove the lid and bake for 10-15 more minutes until golden brown.
- The bread is done when it has a deep golden crust and sounds hollow when tapped.
Step 6: Cool and Serve
- Transfer the bread to a wire rack and let it cool completely before slicing.
Notes
- For a crispier crust: Let the bread cool inside the Dutch oven for 10 minutes before transferring to a cooling rack.
- Alternative herbs: Swap rosemary and thyme for basil, oregano, or parsley.
- Gluten-free option: Use a gluten-free bread flour blend with added xanthan gum.
- Faster rise option: Let dough rise in a warm oven (around 80°F/27°C) for 6-8 hours instead of overnight.