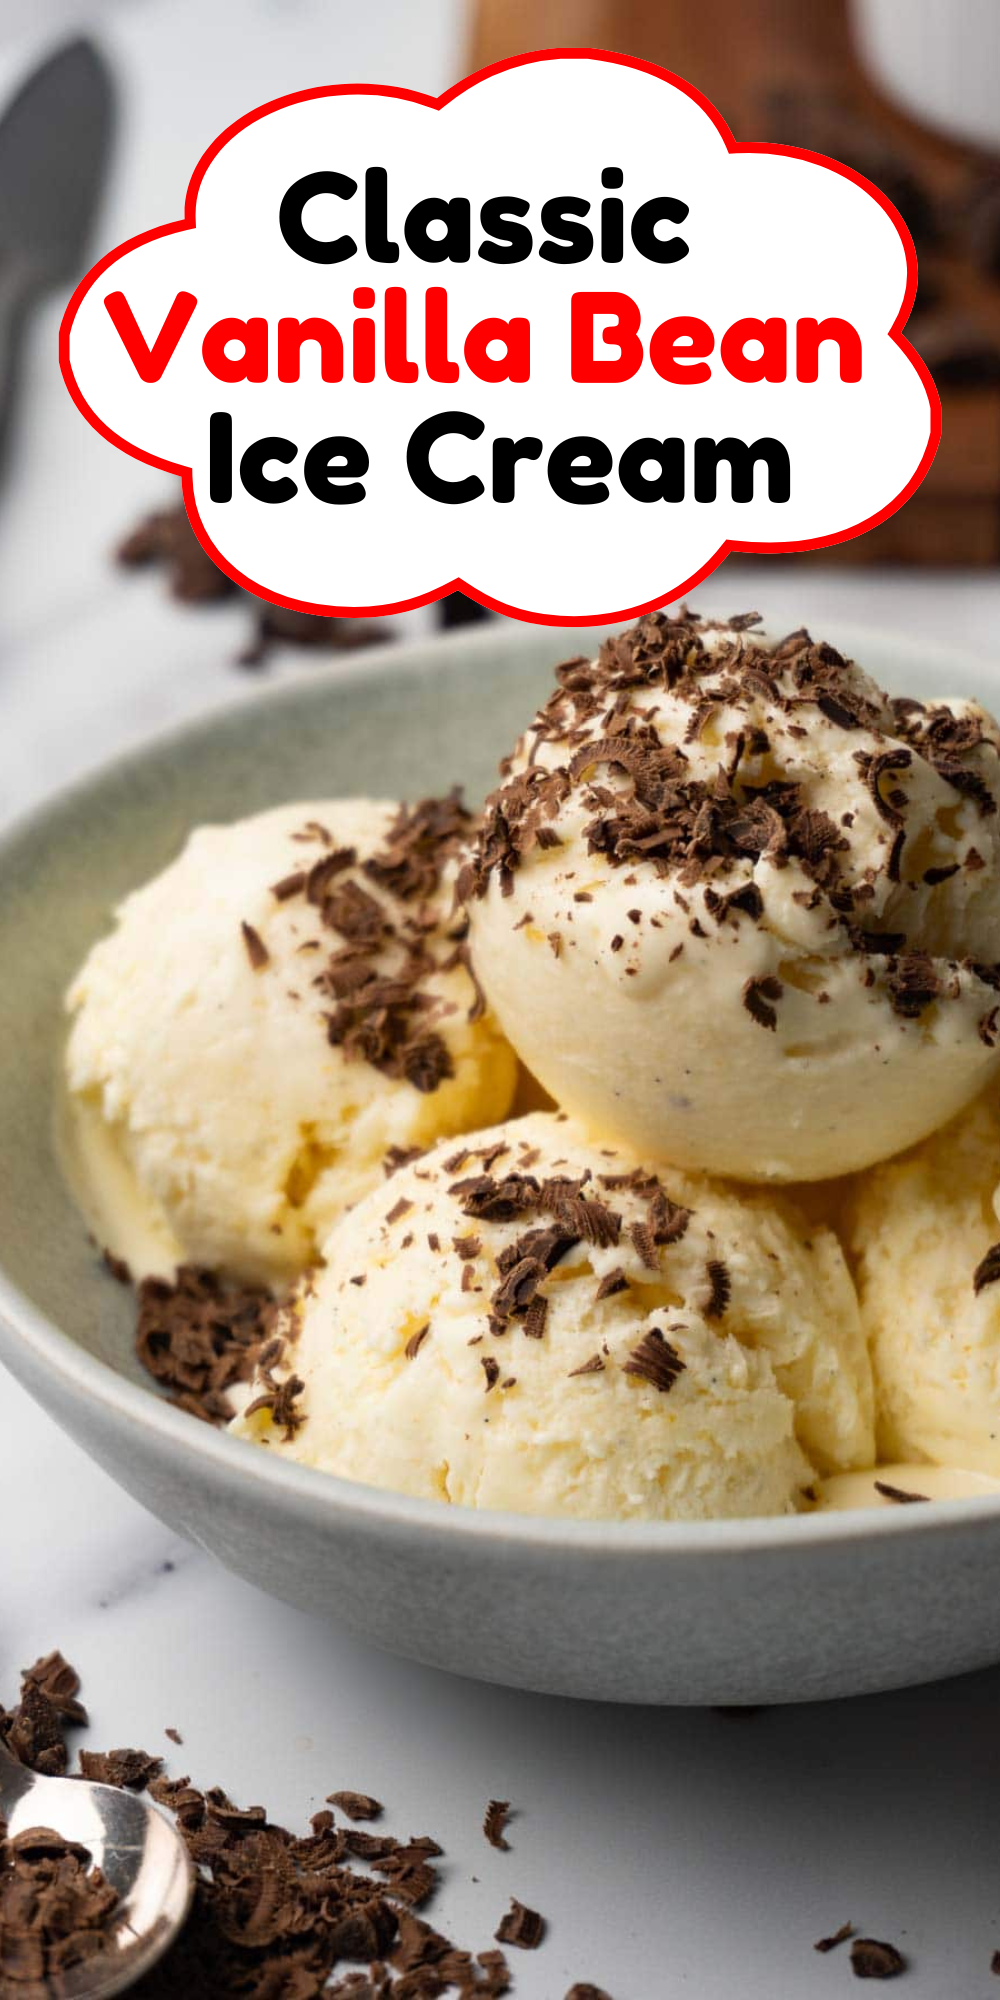
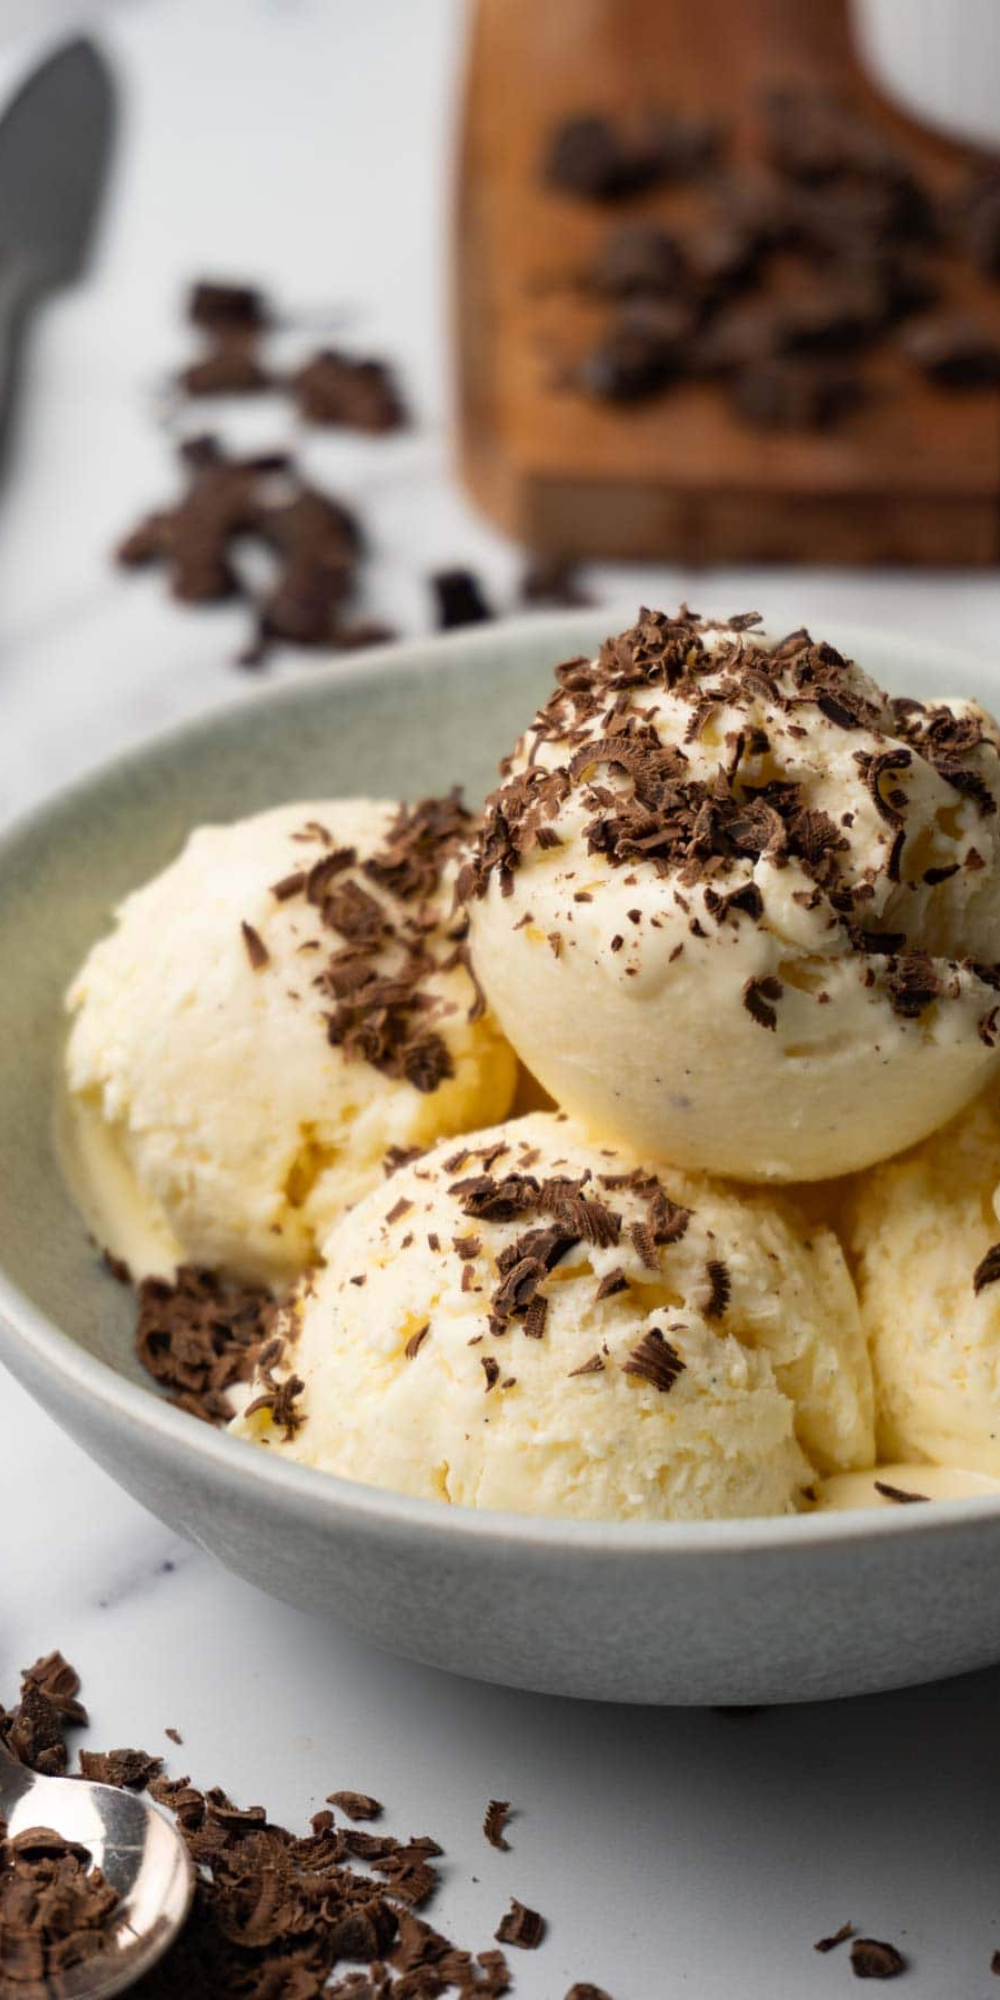
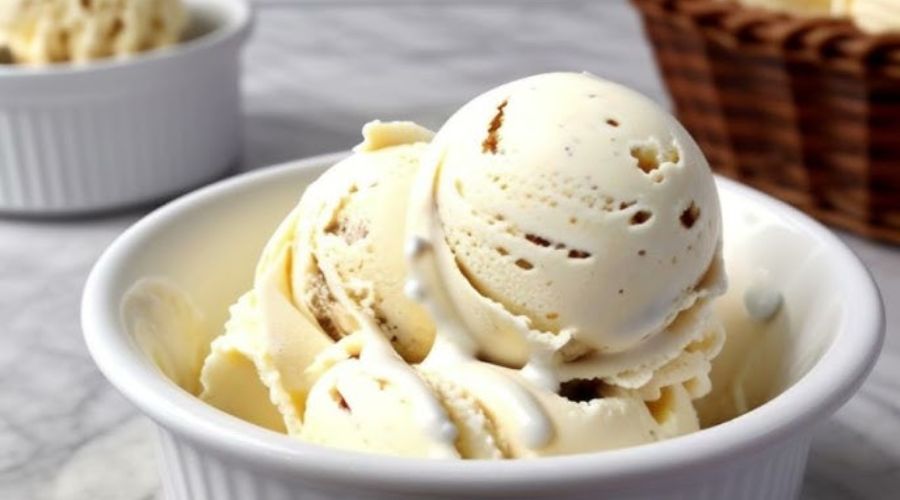
There’s something undeniably magical about the simplicity of Classic Vanilla Bean Ice Cream. Its velvety smooth texture, flecked with real vanilla bean specks, makes it a timeless dessert that never fails to delight.
Whether served in a cone, paired with a decadent dessert, or enjoyed straight from the tub, its pure, aromatic flavor elevates every bite.
Unlike artificial vanilla flavors, the authentic vanilla bean lends an exquisite depth and floral sweetness that transforms this classic treat into a gourmet indulgence.
With just a handful of quality ingredients and a little patience, you can recreate this luxurious ice cream at home, perfect for any occasion.

Why Choose Homemade Vanilla Bean Ice Cream?
Homemade vanilla bean ice cream is a sensory experience that store-bought versions simply can’t replicate.
Crafting it yourself means complete control over the ingredients, ensuring there are no artificial additives or preservatives.
Instead, you’re left with a rich custard base infused with pure vanilla, offering an unparalleled depth of flavor.
The process of making ice cream at home is also incredibly rewarding. From splitting the vanilla pod to churning the custard into a creamy masterpiece, every step connects you to the final product.
It’s an act of love, turning simple ingredients like milk, cream, and eggs into a dessert that’s both comforting and luxurious.
Moreover, homemade ice cream is endlessly customizable. Add a splash of bourbon, swirl in caramel, or toss in your favorite mix-ins to create a dessert that’s uniquely yours.
Whether you’re impressing guests or indulging in a quiet moment of self-care, homemade vanilla bean ice cream is a treat worth savoring.
Ingredients Breakdown
Milk and Cream: The foundation of any good ice cream, whole milk and heavy cream combine to create the perfect balance of richness and creaminess.
The cream contributes a silky texture, while the milk prevents the mixture from being overly heavy.
Vanilla Bean Pod: The star of the show, a real vanilla bean pod, brings an aromatic depth and those signature black specks that make this ice cream visually stunning and irresistibly flavorful. It’s worth the investment for an authentic vanilla experience.
Egg Yolks: Egg yolks serve as the thickening agent in this custard-based ice cream, giving it a luscious, velvety texture. They also enhance the richness of the final product.
Sugar: Granulated sugar sweetens the ice cream, perfectly complementing the subtle floral notes of the vanilla without overpowering it.
Essential Equipment
Medium Saucepan: For heating the milk and cream and steeping the vanilla bean to extract its flavor.
Mixing Bowl: Needed for whisking the egg yolks and sugar and for tempering the custard.
Whisk: Essential for combining ingredients and ensuring the custard stays smooth.
Fine Mesh Sieve: Used to strain the custard and remove any curdled bits or vanilla pod remnants, ensuring a silky texture.
Ice Cream Maker: Key to achieving a smooth, creamy consistency, as it aerates the mixture while freezing it.
Freezer-Safe Container: For storing the churned ice cream while it sets in the freezer.
Step-by-Step Recipe Guide

1. Prepare the Vanilla Bean: Split the vanilla bean pod lengthwise using a sharp knife, and scrape out the seeds. Add both the seeds and the pod to a medium saucepan.
2. Heat the Milk and Cream: Combine the whole milk, heavy cream, and half of the sugar in the saucepan. Heat over medium heat, stirring occasionally, until the mixture is steaming but not boiling.
Remove from heat and allow the vanilla to steep for 10 minutes, infusing the mixture with its rich flavor.
3. Whisk the Egg Yolks and Sugar: In a mixing bowl, whisk together the egg yolks and the remaining sugar until the mixture becomes pale and slightly thickened.
4. Temper the Eggs: Gradually ladle 1 cup of the warm milk mixture into the yolks while whisking constantly to prevent the eggs from cooking. Once combined, pour the tempered yolk mixture back into the saucepan with the remaining milk and cream.
5. Cook the Custard: Return the saucepan to low heat and cook the mixture, stirring constantly, until it thickens enough to coat the back of a spoon (about 170–175°F). Avoid boiling, as this can curdle the custard.
6. Strain and Cool: Remove the saucepan from heat, discard the vanilla pod, and strain the custard through a fine mesh sieve into a clean bowl. Allow the mixture to cool to room temperature, then cover and refrigerate for at least 2 hours, or until fully chilled.
7. Churn the Ice Cream: Pour the chilled custard into your ice cream maker and churn according to the manufacturer’s instructions, usually 20–25 minutes, until the mixture reaches a soft-serve consistency.
8. Freeze to Set: Transfer the churned ice cream to a freezer-safe container, smooth the top, and cover tightly. Freeze for 4–6 hours or until firm.
9. Serve and Enjoy: Scoop and serve as-is or with your favorite toppings or dessert pairings. Store leftovers in an airtight container for up to 2 weeks.
Tips for Perfect Vanilla Bean Ice Cream
- Use High-Quality Ingredients: Opt for fresh dairy, free-range eggs, and authentic vanilla bean pods to ensure the best flavor and texture.
- Steep the Vanilla: Allow the vanilla bean to steep in the milk and cream for at least 10 minutes. For an even deeper flavor, steep it overnight in the refrigerator before heating.
- Don’t Overcook the Custard: Keep a close eye on the temperature and stir constantly while cooking the custard. Overheating can cause the mixture to curdle.
- Chill Thoroughly Before Churning: Ensure the custard is fully chilled before adding it to the ice cream maker. This helps it freeze faster and results in a creamier texture.
- Avoid Over-Churning: Stop the ice cream maker as soon as the mixture reaches a soft-serve consistency to prevent it from turning icy.
- Store Properly: Cover the ice cream tightly with plastic wrap or an airtight lid to prevent freezer burn and maintain freshness.
Pairing Suggestions
- Warm Desserts: Pair your vanilla bean ice cream with warm apple pie, molten chocolate lava cake, or a freshly baked peach cobbler for a delightful contrast of temperatures.
- Fruits: Serve with macerated strawberries, caramelized bananas, or a mixed berry compote to complement its creamy richness.
- Sauces: Drizzle caramel, hot fudge, or a tart raspberry coulis over the ice cream for an added layer of flavor.
- Beverages: Add a scoop to root beer for a classic float or top hot espresso with a dollop for an indulgent affogato.
- Crunchy Toppings: Sprinkle with crushed cookies, toasted nuts, or granola for a textural twist.
Frequently Asked Questions (FAQs)
Q: Can I use vanilla extract instead of a vanilla bean pod?
A: Yes, but the flavor will be less complex. Use 1 ½ teaspoons of high-quality pure vanilla extract, and add it after the custard has cooled.
Q: What can I do if my custard curdles?
A: Strain the mixture through a fine mesh sieve immediately and blend it with an immersion blender until smooth.
Q: Do I need an ice cream maker for this recipe?
A: While an ice cream maker yields the creamiest texture, you can make it without one. Pour the custard into a shallow dish and freeze, stirring every 30 minutes for 2–3 hours.
Q: How long can I store homemade ice cream?
A: Homemade ice cream is best enjoyed within 1–2 weeks. Be sure to store it in an airtight container to prevent freezer burn.
Q: Can I make this recipe dairy-free?
A: Absolutely! Substitute the milk and cream with coconut milk or almond milk, and use a plant-based creamer for richness.
Conclusion
Homemade Classic Vanilla Bean Ice Cream is a simple yet luxurious dessert that never goes out of style. Its rich, creamy texture and authentic vanilla flavor make it a versatile treat, perfect for any season or occasion.
Whether you enjoy it solo, paired with your favorite dessert, or customized with unique mix-ins, this recipe guarantees a truly indulgent experience.
Once you’ve mastered this classic, you’ll never want to go back to store-bought. Ready to elevate your dessert game? Grab your ingredients and get churning!

Classic Vanilla Bean Ice Cream
Equipment
- 1 Medium Saucepan
- 1 Mixing Bowl
- 1 Whisk
- 1 Fine Mesh Sieve
- 1 Ice Cream Maker
- 1 Airtight Freezer-safe Container
Ingredients
- 1 cup Whole milk
- 2 cups Heavy cream
- 1 Vanilla bean pod (split and seeds scraped)
- ¾ cup Granulated sugar
- 4 large Egg yolks
Instructions
- Split the vanilla bean pod lengthwise and scrape out the seeds. Add both the seeds and the pod to a medium saucepan.
- Combine the milk, heavy cream, and half of the sugar in the saucepan. Heat over medium heat until steaming but not boiling. Remove from heat and let the mixture steep for 10 minutes.
- In a mixing bowl, whisk the egg yolks and remaining sugar until the mixture is pale and slightly thickened.
- Slowly add 1 cup of the warm milk mixture to the egg yolks while whisking constantly to prevent curdling.
- Pour the tempered yolk mixture back into the saucepan with the remaining milk mixture. Cook over low heat, stirring constantly, until the custard thickens enough to coat the back of a spoon (about 170–175°F).
- Remove from heat, discard the vanilla pod, and strain the custard through a fine mesh sieve into a clean bowl. Cool to room temperature, then cover and refrigerate for at least 2 hours or until fully chilled.
- Pour the chilled custard into an ice cream maker and churn according to the manufacturer’s instructions, usually 20–25 minutes.
- Transfer the churned ice cream to an airtight container and freeze for 4–6 hours, or until firm.
- Scoop and serve as-is or pair with your favorite dessert.
Notes
- For a stronger vanilla flavor, steep the vanilla pod and seeds in the milk mixture overnight in the fridge before proceeding with the recipe.
- Add a splash of bourbon or rum to the custard for an adult twist and to improve the texture.
- Store the ice cream in an airtight container for up to 2 weeks.
- If you don’t have an ice cream maker, pour the custard into a shallow dish, freeze, and stir every 30 minutes for 2–3 hours to break up ice crystals.


