Every product is independently reviewed and selected by our editors. If you buy something through our links, we may earn an affiliate commission at no extra cost to you.
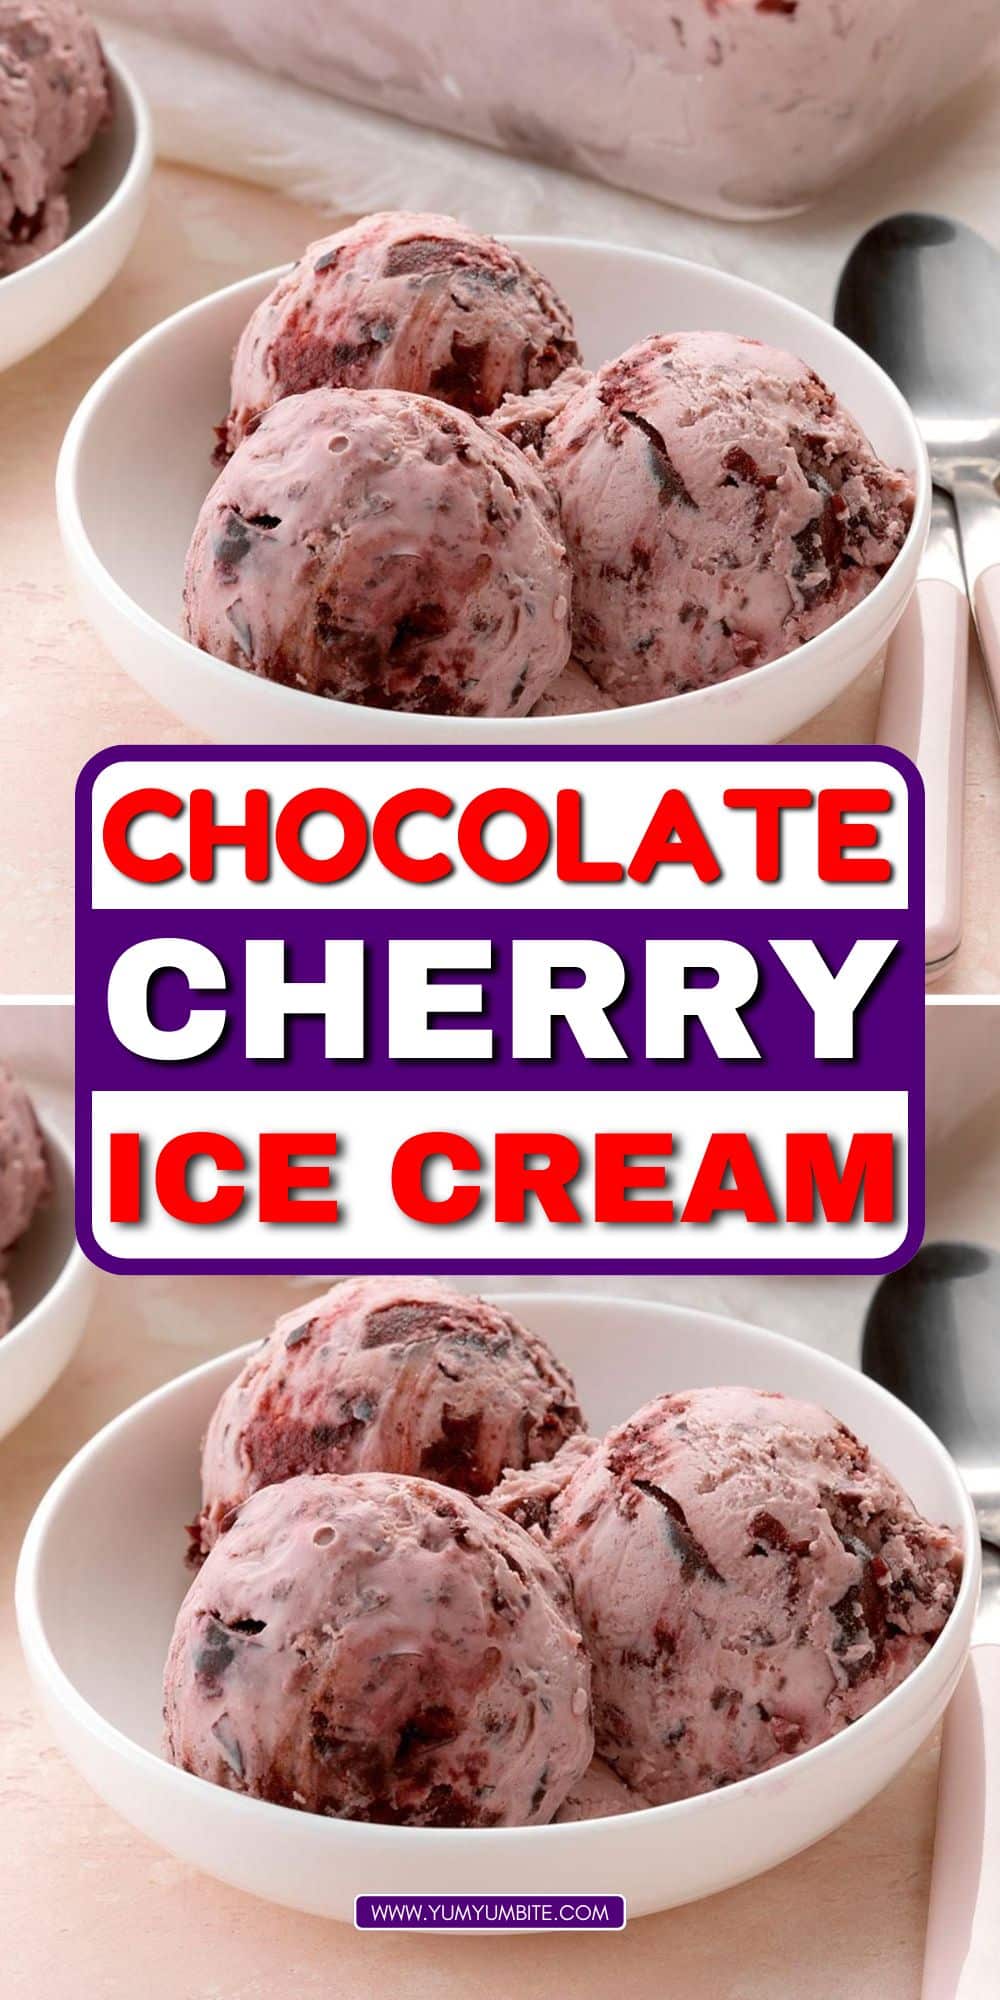
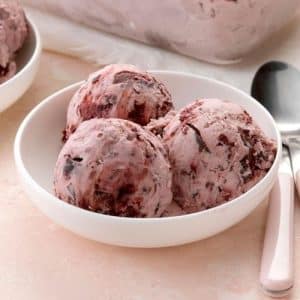
Indulge in the perfect blend of rich, velvety chocolate and the tart sweetness of cherries with this Chocolate Cherry Ice Cream.
This homemade delight is a dream come true for dessert lovers, offering a luscious texture and deep, satisfying flavors in every bite.
Unlike store-bought varieties, this ice cream is made with real ingredients, ensuring a smooth and creamy consistency with bursts of fresh cherry goodness.
Whether you enjoy it in a cone, as a sundae, or paired with your favorite dessert, this recipe is a must-try for any chocolate enthusiast.
With a simple preparation process and a perfect balance of flavors, this Chocolate Cherry Ice Cream is the ultimate treat for summer days, special occasions, or anytime you crave a scoop of decadence!
Why You’ll Love This Chocolate Cherry Ice Cream
A Perfect Fusion of Flavors
The deep, intense taste of chocolate beautifully complements the natural tartness of cherries, creating a harmonious balance of richness and freshness.
Every spoonful delivers a burst of chocolatey goodness with juicy bits of cherries that enhance the overall experience.
Creamy and Indulgent Texture
Made with high-quality cream and chocolate, this ice cream is irresistibly smooth and creamy.
The cherries add a slightly chewy texture, making each bite even more satisfying.
Homemade and Customizable
Unlike commercial ice creams loaded with artificial flavors and preservatives, this homemade version allows you to control the ingredients.
Whether you prefer dairy-free alternatives, extra chocolate chunks, or a boozy twist, this recipe can be easily adapted to suit your taste.
A Versatile Dessert
This ice cream is delicious on its own, but it also pairs wonderfully with warm brownies, waffles, or as a topping for cakes.
It can be transformed into an ice cream sandwich, milkshake, or sundae, making it a dessert with endless possibilities.
Easy to Make
With a simple process that involves making a creamy chocolate base, swirling in cherries, and freezing, this recipe is easy enough for beginners yet impressive enough to serve at special gatherings.
Ingredients You’ll Need
To make the best Chocolate Cherry Ice Cream, you’ll need high-quality ingredients that bring out the richness of chocolate and the vibrant taste of cherries.
For the Ice Cream Base
- Heavy Cream – Creates a rich and creamy texture.
- Whole Milk – Helps balance the creaminess while maintaining a smooth consistency.
- Granulated Sugar – Sweetens the base without overpowering the chocolate.
- Unsweetened Cocoa Powder – Adds a deep, intense chocolate flavor.
- Dark Chocolate (Melted) – Enhances the richness and gives the ice cream a luxurious feel.
- Vanilla Extract – Rounds out the flavors and adds warmth to the chocolate.
- Salt – A small pinch brings out the depth of the chocolate taste.
For the Cherry Swirl
Fresh or Frozen Cherries (Pitted and Chopped) – The star ingredient that adds natural sweetness and a fruity contrast.
Sugar – Helps break down the cherries and intensifies their flavor.
Lemon Juice – Balances the sweetness and enhances the tartness of the cherries.
Optional Add-Ins
Chocolate Chips or Chunks – For an extra bite of chocolate.
Cherry Liqueur – A splash of Kirsch or cherry brandy for a more indulgent, adult-friendly version.
Chopped Nuts – Almonds or walnuts add a slight crunch and depth of flavor.
With these ingredients, you’re ready to create an irresistible batch of homemade Chocolate Cherry Ice Cream that’s decadent, refreshing, and absolutely delightful!
Step-by-Step Instructions

Making Chocolate Cherry Ice Cream at home is easier than you think!
Follow these simple steps to achieve a creamy, flavorful ice cream with a luscious cherry swirl.
Step 1: Prepare the Cherry Mixture
- In a small saucepan, combine the chopped cherries, sugar, and lemon juice.
- Cook over medium heat, stirring occasionally, until the cherries soften and release their juices (about 10 minutes).
- Lightly mash the cherries with a fork or leave them chunky for added texture.
- Remove from heat and let the mixture cool completely before using.
Step 2: Make the Chocolate Ice Cream Base
- In a medium saucepan, heat the milk, heavy cream, and sugar over medium-low heat, stirring until the sugar dissolves.
- Whisk in the cocoa powder, melted chocolate, and a pinch of salt until fully combined.
- Remove from heat and stir in the vanilla extract.
- Allow the mixture to cool to room temperature, then refrigerate for at least 2 hours (or overnight) for better flavor infusion.
Step 3: Churn the Ice Cream
- Pour the chilled chocolate base into an ice cream maker and churn according to the manufacturer’s instructions.
- When the ice cream reaches a soft-serve consistency, gently fold in the cherry mixture to create swirls. Avoid overmixing to maintain distinct chocolate and cherry layers.
Step 4: Freeze Until Firm
- Transfer the ice cream to a freezer-safe container and smooth out the top.
- Cover with a lid or press a piece of parchment paper directly onto the surface to prevent ice crystals.
- Freeze for at least 4-6 hours until the ice cream is firm.
Step 5: Serve & Enjoy!
- Let the ice cream sit at room temperature for a few minutes before scooping.
- Serve in cones, bowls, or as part of your favorite dessert.
- Enjoy every spoonful of this rich, chocolatey, and fruity delight!
Tips for the Best Chocolate Cherry Ice Cream
Use High-Quality Chocolate
Opt for dark chocolate with at least 70% cocoa for a deep, rich flavor. Lower-quality chocolate can result in a less intense taste.
Chill the Base Before Churning
A properly chilled ice cream base ensures a smoother texture and helps the ice cream freeze evenly.
Don’t Overmix the Cherry Swirl
Gently fold the cherry mixture into the ice cream to create beautiful swirls. Overmixing can blend the flavors too much and reduce the contrast.
For a Softer, Creamier Ice Cream
Add a tablespoon of corn syrup or alcohol (such as cherry liqueur) to prevent the ice cream from freezing too hard.
Experiment with Mix-Ins
Add chocolate chunks, nuts, or even crushed cookies for extra texture and flavor!
Storage Tips – Keeping Your Ice Cream Fresh
Use an Airtight Container
Store the ice cream in a sealed, freezer-safe container to prevent freezer burn and maintain freshness.
Press Parchment Paper Over the Surface
Before sealing the container, press a layer of parchment paper directly onto the ice cream. This prevents ice crystals from forming.
Keep in the Coldest Part of Your Freezer
Store the ice cream in the back of the freezer, away from the door, to maintain a stable temperature.
Let It Sit Before Scooping
Homemade ice cream can freeze harder than store-bought versions.
Let it sit at room temperature for 5-10 minutes before scooping for the best texture.
Consume Within Two Weeks for Best Taste
While it can last longer, homemade ice cream is best enjoyed within two weeks for optimal flavor and texture.
Conclusion
Chocolate Cherry Ice Cream is the perfect combination of rich, chocolatey decadence and sweet-tart cherry goodness.
This homemade recipe delivers a smooth, creamy texture with bursts of fruity flavor, making it a must-try for any ice cream lover.
With simple ingredients and an easy step-by-step process, you can create a gourmet frozen dessert right in your own kitchen.
Whether enjoyed on a hot summer day, paired with a warm brownie, or blended into a milkshake, this ice cream is guaranteed to satisfy your cravings.
Frequently Asked Questions
1. Can I use frozen cherries instead of fresh?
Yes! If using frozen cherries, thaw and drain any excess liquid before cooking them down.
This prevents excess moisture from affecting the ice cream’s texture.
2. Do I need an ice cream maker?
While an ice cream maker gives the best texture, you can make a no-churn version by whipping 2 cups of heavy cream and folding it into a sweetened chocolate mixture, then swirling in the cherries before freezing.
3. Can I make this dairy-free?
Absolutely! Substitute the heavy cream with full-fat coconut milk and use dairy-free chocolate for a creamy, vegan-friendly version.
4. How can I make it extra chocolatey?
For an intense chocolate experience, mix in chocolate chips, chunks, or a drizzle of hot fudge before freezing.
5. Can I add alcohol to this recipe?
Yes! Adding 1-2 tablespoons of cherry liqueur (such as Kirsch) not only enhances the flavor but also keeps the ice cream softer and easier to scoop.
Chocolate Cherry Ice Cream
Equipment
- 1 Small saucepan (for cooking the cherries)
- 1 Medium saucepan (for making the chocolate base)
- 1 Whisk (for mixing the ingredients)
- 1 Mixing bowl (for chilling the mixture)
- 1 Ice cream maker (for churning the ice cream)
- 1 Freezer-Safe Container (for storing the ice cream)
- 1 Spatula (for folding in the cherries)
Ingredients
For the Cherry Mixture
- 1 ½ cups fresh or frozen cherries pitted and chopped
- ¼ cup granulated sugar
- 1 tbsp lemon juice
For the Chocolate Ice Cream Base
- 2 cups heavy cream
- 1 cup whole milk
- ½ cup granulated sugar
- ¼ cup unsweetened cocoa powder
- 4 oz dark chocolate melted
- 1 tsp vanilla extract
- 1 pinch salt
Instructions
Step 1: Prepare the Cherry Mixture
- In a small saucepan, combine the chopped cherries, sugar, and lemon juice.
- Cook over medium heat, stirring occasionally, until the cherries release their juices and soften (about 10 minutes).
- Lightly mash the cherries with a fork, leaving some pieces for texture.
- Remove from heat and let the mixture cool completely.
Step 2: Make the Chocolate Ice Cream Base
- In a medium saucepan, heat the milk, heavy cream, and sugar over medium-low heat, stirring until the sugar dissolves.
- Whisk in the cocoa powder and melted chocolate until fully combined.
- Stir in the vanilla extract and a pinch of salt.
- Allow the mixture to cool to room temperature, then refrigerate for at least 2 hours (or overnight).
Step 3: Churn the Ice Cream
- Pour the chilled chocolate mixture into an ice cream maker and churn according to the manufacturer’s instructions.
- When the ice cream reaches a soft-serve consistency, gently fold in the cherry mixture, creating swirls. Avoid overmixing.
Step 4: Freeze Until Firm
- Transfer the ice cream to a freezer-safe container and smooth the top.
- Cover with a lid or press a piece of parchment paper directly onto the surface to prevent ice crystals.
- Freeze for at least 4-6 hours until firm.
Step 5: Serve & Enjoy
- Let the ice cream sit at room temperature for a few minutes before scooping.
- Serve in cones, bowls, or as part of your favorite dessert.
Notes
- For a no-churn version: Whip 2 cups of heavy cream to stiff peaks, then fold in a mixture of sweetened condensed milk, cocoa powder, and melted chocolate. Swirl in the cherries before freezing.
- For a softer texture: Add 1 tablespoon of cherry liqueur (Kirsch) or vodka to prevent ice crystals.
- For extra crunch: Stir in chocolate chips or crushed nuts before freezing.
- Vegan alternative: Replace the dairy with full-fat coconut milk and use dairy-free chocolate.