All products are selected by our editorial team for quality. If you buy through our links, we may earn a small commission at no extra cost to you.
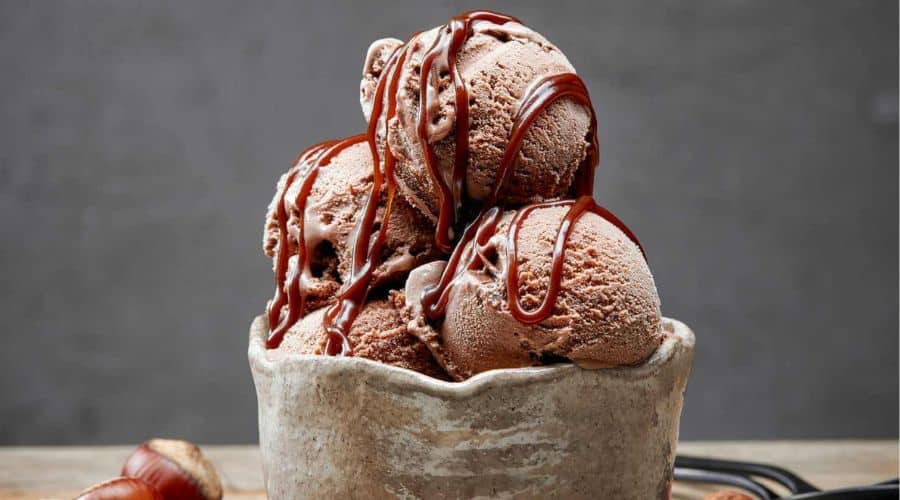
Indulge in the luxurious combination of chocolate and hazelnut with this irresistible homemade ice cream recipe.
The creamy texture, combined with the rich, nutty flavor of roasted hazelnuts and velvety smooth chocolate, creates a decadent treat that’s perfect for any occasion.
Whether you’re a chocolate lover, a hazelnut enthusiast, or both, this ice cream delivers an unforgettable taste experience.
With just the right balance of sweetness and crunch, it’s sure to become a new favorite dessert to share with family and friends.
Health Benefits of Chocolate Hazelnut Ice Cream
1. Rich in Antioxidants
Dark chocolate and cocoa powder contain flavonoids, which help reduce inflammation and support heart health.
2. Boosts Brain Function
Hazelnuts are packed with vitamin E and healthy fats that promote brain function and may help improve memory.
3. Energy Boosting
With a mix of healthy fats, proteins, and carbohydrates, this ice cream provides a quick energy boost, making it a great post-meal treat.
4. Supports Heart Health
Hazelnuts and dark chocolate contain heart-friendly compounds that may help lower bad cholesterol levels.
5. Mood Enhancing
Chocolate triggers the release of endorphins, the “feel-good” hormones, which can improve mood and reduce stress.
Why You’ll Love This Chocolate Hazelnut Ice Cream
This chocolate hazelnut ice cream is the epitome of indulgence.
The creamy chocolate base provides a luxurious mouthfeel, while the roasted hazelnuts offer a delightful crunch that enhances the flavor in every bite.
What sets this recipe apart is the perfect harmony between the rich cocoa and the earthy, slightly sweet taste of the hazelnuts.
It’s an elegant dessert that feels both nostalgic and sophisticated, making it ideal for everything from casual get-togethers to special celebrations.
Plus, it’s homemade, so you can feel confident in the quality of the ingredients, knowing exactly what’s going into your treat.
The versatility of this ice cream is another reason it stands out.
You can enjoy it on its own or serve it as a topping for other desserts like warm brownies or fruit tarts.
Its creamy texture and bold flavor profile make it a perfect companion for any sweet craving.
Ingredients for Homemade Chocolate Hazelnut Ice Cream
To create this decadent dessert, you’ll need just a few high-quality ingredients. Here’s what you’ll need:
- Heavy Cream: This is the base of the ice cream, providing the creamy texture that makes this dessert so luscious.
- Whole Milk: Adds richness without overpowering the cream.
- Granulated Sugar: For the perfect balance of sweetness.
- Cocoa Powder: Use a high-quality unsweetened cocoa powder for the richest chocolate flavor.
- Egg Yolks: These help thicken the mixture, creating a smooth, custard-like base.
- Vanilla Extract: Enhances the chocolate flavor and adds depth to the ice cream.
- Hazelnuts: Toasted to bring out their natural flavor and add a satisfying crunch.
- Chocolate Chips or Chopped Chocolate: For those extra bursts of chocolate goodness in each bite.
Optional ingredients include hazelnut paste or chocolate hazelnut spread to intensify the flavor, depending on how nutty or chocolaty you’d like the ice cream to be.
Equipment Needed
Making this chocolate hazelnut ice cream is a simple process, but it does require a few key tools to ensure the best results.
Here’s what you’ll need:
Ice Cream Maker: This is essential for churning the mixture into a smooth, creamy texture. While you can make ice cream without one, an ice cream maker makes the process much easier and ensures a perfectly smooth result.
Mixing Bowls: A couple of large mixing bowls are needed to prepare the custard and to cool it down before churning.
Saucepan: You’ll use this to heat the milk, cream, and cocoa powder, as well as to prepare the custard.
Whisk: Essential for stirring the ingredients together, especially when incorporating the eggs into the warm liquid to avoid curdling.
Spatula: Useful for scraping down the sides of the bowl when you’re combining the ingredients or transferring the ice cream base.
Measuring Cups and Spoons: Accuracy matters in making ice cream, so be sure to have these on hand.
Airtight Storage Container: Once the ice cream has finished churning, you’ll need a container to store it in the freezer. An airtight container ensures it stays fresh and maintains its texture.
Optional equipment includes a food processor for finely chopping the hazelnuts if you don’t want to do it by hand.
Step-by-Step Instructions

Making Chocolate Hazelnut Ice Cream from scratch is a fun and rewarding process. Follow these simple steps to create this decadent dessert:
1. Prepare the Hazelnuts
Start by toasting the hazelnuts to bring out their full flavor. Preheat your oven to 350°F (175°C), then spread the hazelnuts on a baking sheet in a single layer.
Toast them for about 10 minutes or until the skins darken and they become fragrant. Once done, remove them from the oven and let them cool.
After cooling, use a clean kitchen towel to rub off the skins, then roughly chop the hazelnuts and set them aside.
2. Make the Chocolate Base
In a medium saucepan, combine the heavy cream, whole milk, and cocoa powder.
Heat the mixture over medium heat, whisking frequently until the cocoa powder dissolves completely and the mixture begins to simmer.
Once it’s simmering, remove the saucepan from the heat and set aside.
3. Create the Custard
In a separate bowl, whisk the egg yolks and sugar until smooth and slightly pale. Slowly pour a bit of the hot cream mixture into the egg yolks while whisking constantly.
This step is crucial to avoid curdling the eggs. Gradually whisk in the rest of the cream mixture.
Return the entire mixture to the saucepan and cook over low heat, stirring constantly until it thickens enough to coat the back of a spoon (about 5-7 minutes).
4. Add Chocolate and Chill the Mixture
Once the custard has thickened, remove it from the heat and stir in chopped chocolate or chocolate chips until fully melted and smooth.
Let the mixture cool to room temperature before covering it with plastic wrap, pressing the wrap directly onto the surface to prevent a skin from forming.
Refrigerate for at least 4 hours or overnight to chill completely.
5. Churn the Ice Cream
Once chilled, pour the mixture into your ice cream maker and churn according to the manufacturer’s instructions.
This usually takes around 20-25 minutes, depending on your machine. As the mixture churns, it will begin to thicken and form a creamy texture.
6. Incorporate the Hazelnuts
During the last few minutes of churning, add in the toasted hazelnuts, allowing them to be mixed evenly into the ice cream.
This adds the perfect crunch and nutty flavor to your dessert.
7. Freeze the Ice Cream
Once the ice cream has reached the consistency of soft serve, transfer it to an airtight container and smooth the top.
Freeze the ice cream for at least 4 hours or until it becomes firm enough to scoop.
Recipe Variation
- Dairy-Free Version: Swap out the heavy cream and whole milk for full-fat coconut milk or almond milk. Use a dairy-free chocolate alternative.
- Keto-Friendly Option: Replace granulated sugar with a low-carb sweetener like erythritol or monk fruit sweetener.
- Extra Crunch & Texture: Add crushed hazelnut praline or chocolate-covered hazelnuts for an even more indulgent texture.
- Boozy Twist: Stir in a tablespoon of Frangelico (hazelnut liqueur) or Baileys for an adult-friendly dessert.
- White Chocolate Hazelnut: Substitute dark chocolate for white chocolate to create a lighter, creamier variation.
Tips for Perfect Chocolate Hazelnut Ice Cream
Use high-quality cocoa powder and chocolate: The flavor of the chocolate is the heart of this recipe, so opt for high-quality unsweetened cocoa powder and good-quality chocolate bars or chips.
Toast the hazelnuts carefully: Toasting the hazelnuts enhances their natural flavor and adds a delightful crunch to the ice cream. Be sure to keep an eye on them while they’re in the oven to avoid burning.
Don’t rush the chilling process: Chilling the custard thoroughly before churning is key to achieving a smooth, creamy texture. Be patient—this step makes all the difference.
Customize your ice cream: If you love a stronger hazelnut flavor, consider adding hazelnut paste or a spoonful of Nutella into the base before chilling. You can also try adding chocolate chunks for extra texture.
Storage: To prevent ice crystals from forming, make sure the ice cream is stored in an airtight container and tightly sealed.
Storing Your Homemade Chocolate Hazelnut Ice Cream
Proper storage is crucial for maintaining the creamy texture of your homemade ice cream.
After it has finished churning, transfer the ice cream to an airtight container.
Be sure to press a layer of plastic wrap directly on the surface of the ice cream before sealing the container to help prevent freezer burn and maintain its smooth consistency.
Store the ice cream in the freezer for up to 2-3 weeks.
When you’re ready to serve, allow the ice cream to sit at room temperature for a few minutes to soften slightly, making it easier to scoop.
Avoid leaving it out too long to preserve its creamy texture.
Conclusion
This Chocolate Hazelnut Ice Cream is the ultimate treat for chocolate and nut lovers alike.
With its rich, creamy texture and irresistible nutty crunch, it’s perfect for satisfying your sweet tooth.
By following the simple steps and using quality ingredients, you can create a homemade ice cream that’s far superior to store-bought versions.
Enjoy it on its own or as a topping for other desserts—either way, it’s sure to impress.
Treat yourself and your loved ones to a scoop of this heavenly ice cream today!
Frequently Asked Questions
1. Can I make this recipe without an ice cream maker?
Yes! If you don’t have an ice cream maker, you can still make this recipe.
After chilling the mixture, pour it into a shallow dish and place it in the freezer.
Every 30 minutes, stir the mixture with a fork to break up any ice crystals until it reaches the desired consistency.
2. Can I use a different nut instead of hazelnuts?
Absolutely! While hazelnuts are the star in this recipe, you can substitute them with other nuts such as almonds, walnuts, or pistachios. Just be sure to toast them for extra flavor.
3. How can I make this recipe dairy-free?
To make a dairy-free version, substitute the heavy cream and whole milk with coconut cream and almond milk.
Use dairy-free chocolate and ensure the sugar is not processed with bone char.
4. How do I prevent my ice cream from becoming icy?
The key to avoiding ice crystals is to ensure your ice cream is churned well and stored in an airtight container.
Also, make sure the custard is well-chilled before churning.
5. Can I add extra flavorings or mix-ins to the ice cream?
Yes! Feel free to get creative with flavorings such as a splash of vanilla extract or a spoonful of coffee for a mocha twist.
You can also add mix-ins like chocolate chips, caramel swirls, or crushed cookies during the last few minutes of churning.

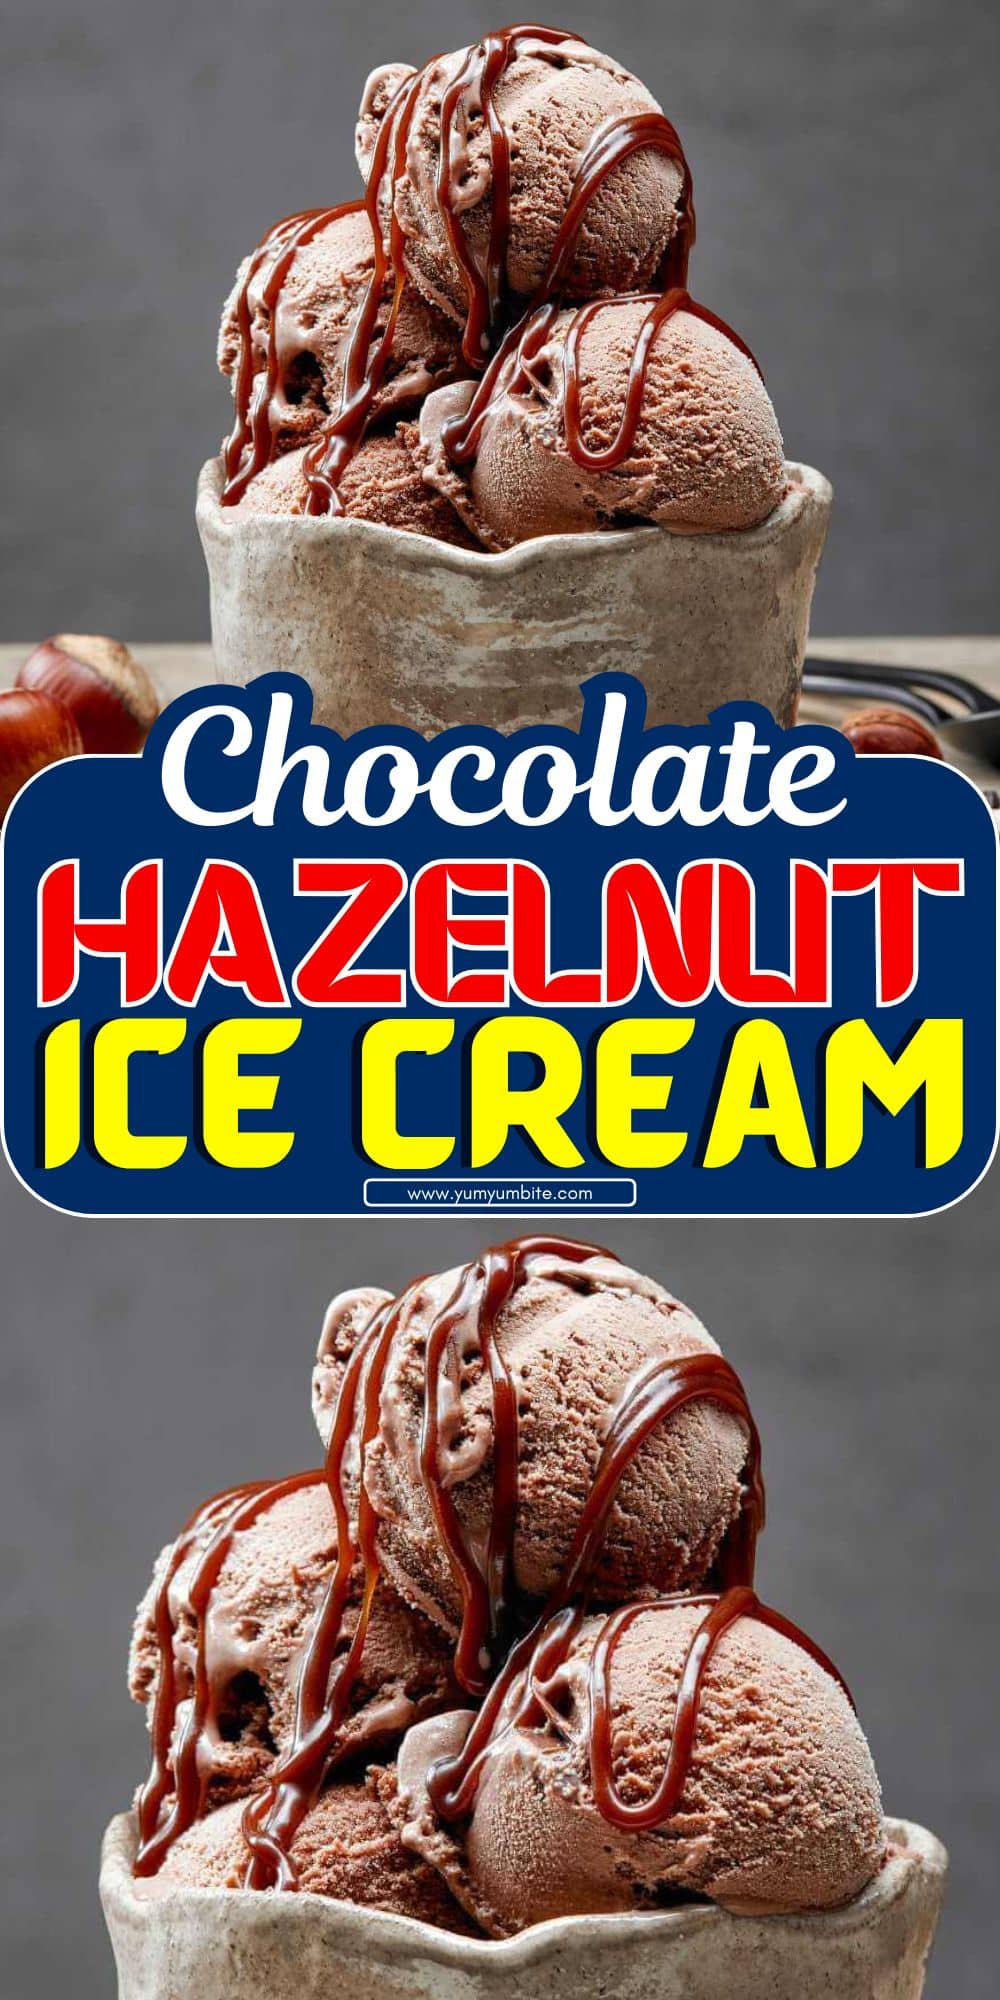
Chocolate Hazelnut Ice Cream
Equipment
- Ice Cream Maker (1 unit)
- Saucepan – 1 unit
- Mixing Bowls – 2 units
- Whisk – 1 unit
- Spatula (1 unit)
- Airtight Storage Container (1 unit)
- Measuring Cups & Spoons – 1 set
Ingredients
- Heavy Cream – 2 cups
- Whole Milk – 1 cup
- Granulated Sugar – 3/4 cup
- Unsweetened Cocoa Powder – 1/4 cup
- Egg Yolks – 4 large
- Vanilla Extract – 1 teaspoon
- Hazelnuts roasted and chopped – 1 cup
- Chocolate Chips or Chopped Chocolate – 1/2 cup
(Optional)
- Hazelnut Paste or Nutella – 1 tablespoon for extra flavor
Instructions
- Toast the Hazelnuts: Preheat your oven to 350°F (175°C). Spread hazelnuts on a baking sheet in a single layer. Toast for about 10 minutes, then cool. Once cooled, rub off the skins using a kitchen towel and chop the nuts.
- Make the Chocolate Base: In a saucepan, combine heavy cream, whole milk, and cocoa powder. Heat over medium heat until it begins to simmer, stirring frequently to dissolve the cocoa powder. Remove from heat and set aside.
- Prepare the Custard: Whisk egg yolks and sugar in a separate bowl until smooth. Gradually add the hot cream mixture to the egg yolks, whisking constantly to temper the eggs. Pour the mixture back into the saucepan and cook over low heat, stirring until it thickens and coats the back of a spoon.
- Add Chocolate and Chill: Stir in chopped chocolate or chocolate chips until melted. Allow the custard to cool to room temperature, then cover with plastic wrap, pressing it onto the surface to avoid skin formation. Chill the mixture in the refrigerator for at least 4 hours or overnight.
- Churn the Ice Cream: Pour the chilled mixture into an ice cream maker and churn according to the manufacturer’s instructions (usually about 20-25 minutes). During the last few minutes of churning, add the toasted hazelnuts.
- Freeze the Ice Cream: Transfer the ice cream to an airtight container and smooth the top. Freeze for at least 4 hours until it firms up.
- Serve and Enjoy: Allow the ice cream to sit at room temperature for a few minutes before scooping. Enjoy on its own or paired with brownies or fruit tarts.
Notes
- If you prefer a stronger hazelnut flavor, add a tablespoon of hazelnut paste or Nutella to the base.
- The ice cream will keep for 2-3 weeks in the freezer if stored properly in an airtight container.
- If you don’t have an ice cream maker, pour the mixture into a shallow dish, freeze, and stir every 30 minutes until the ice cream reaches a smooth consistency.
- Be sure to toast the hazelnuts until they are golden to bring out their full flavor and enhance the texture of the ice cream.